Now that the majority of large projects are done, we were able to devote some time to the pond again. If you remember back, the pond was designed to catch zero run-off rainwater and be filled by the well only. This would require major surgery to an existing water system that has served us really well. Part of the reason for the tank upgrade to 20000 gallons was anticipation of this new design. We would find a way to split the system in two with the tanks feeding house, gardens, high tunnel and all the animals so there’s no interruption when filling the pond. Once full, we can keep an eye on evaporation rates and adjust how much water trickles in to maintain the desired levels. We also needed to tap in to run irrigation to the new high tunnel while we were at it.
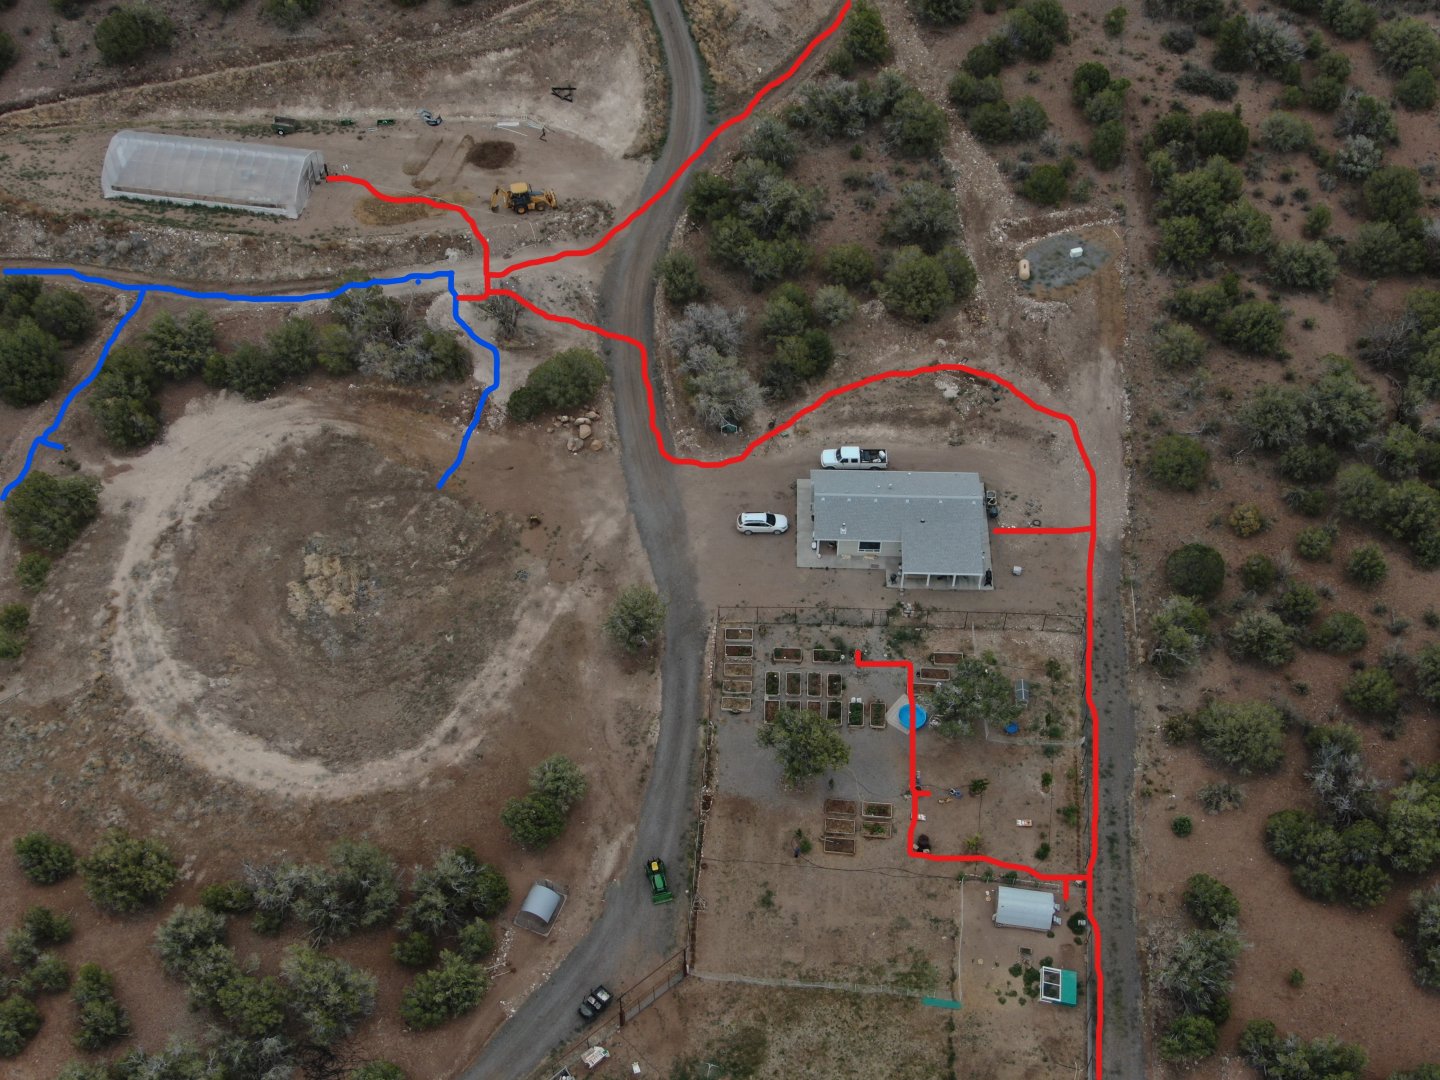
The design looks something like this. Red is the lines that are constantly charged by the tanks.
Thank you for visiting, don't forget to subscribe!
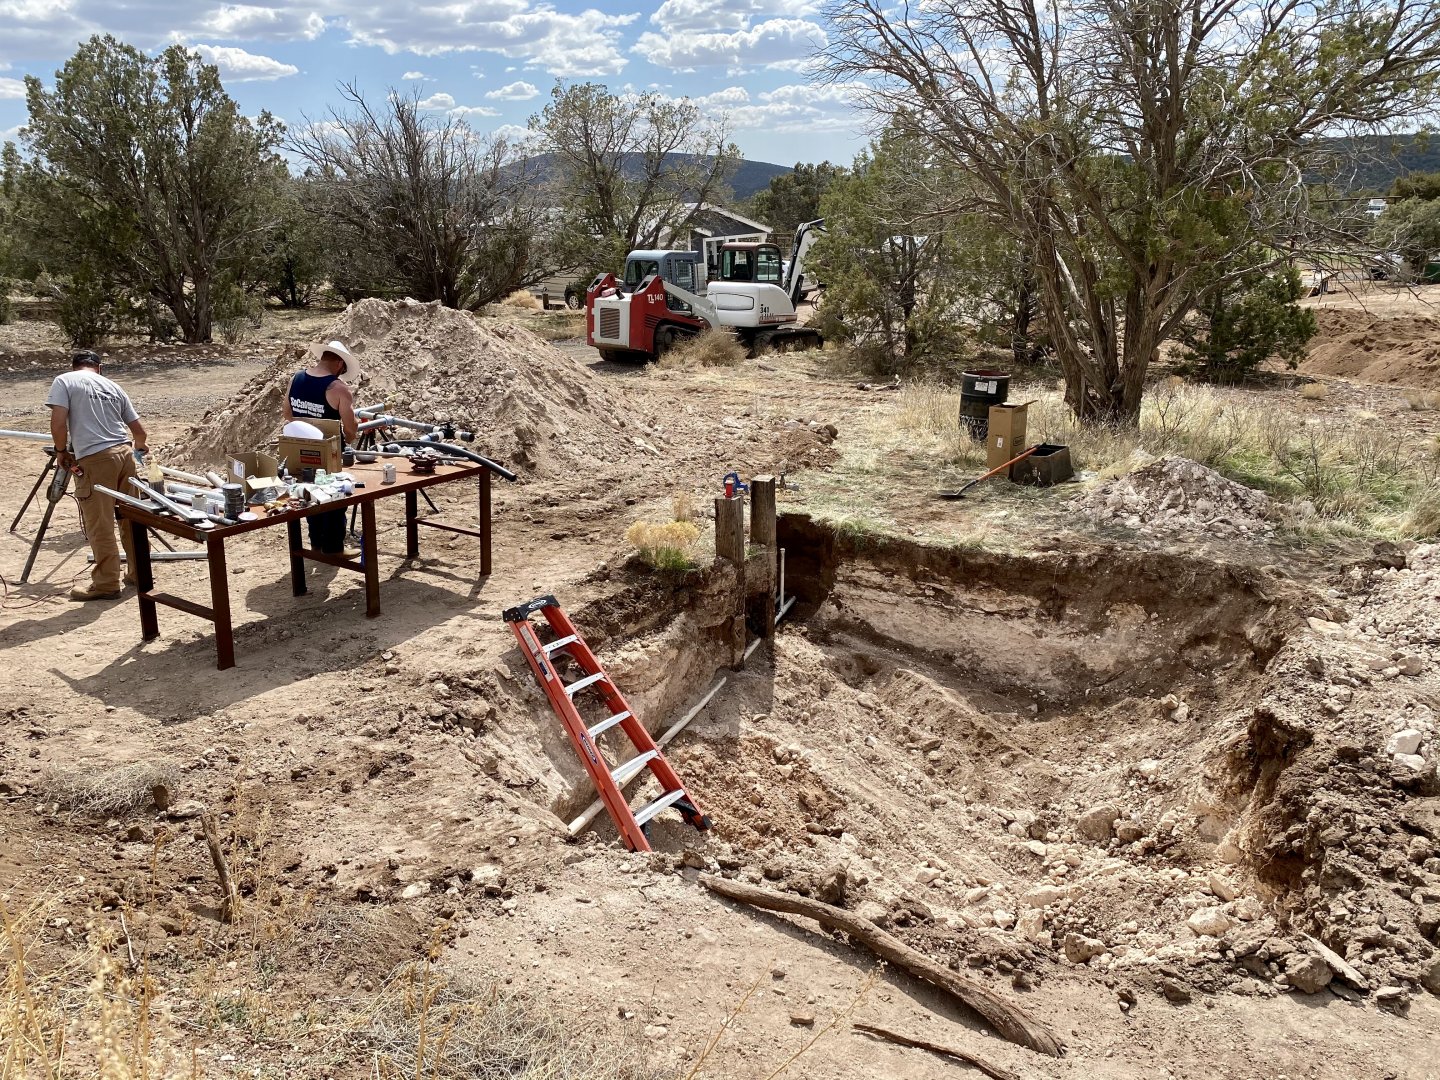
We smoked out the majority of this project in 4 days once we started. We’re getting pretty good at sketching ideas on paper and making a parts list, so everything is ready once we are. Covid pricing had already started sliding up at this point. In the two months from design to gathering parts, the original estimate had jumped $900. Double that if I had to do it now. I started digging a giant hole that would allow us to comfortably work, while my buddies started building manifold assemblies.
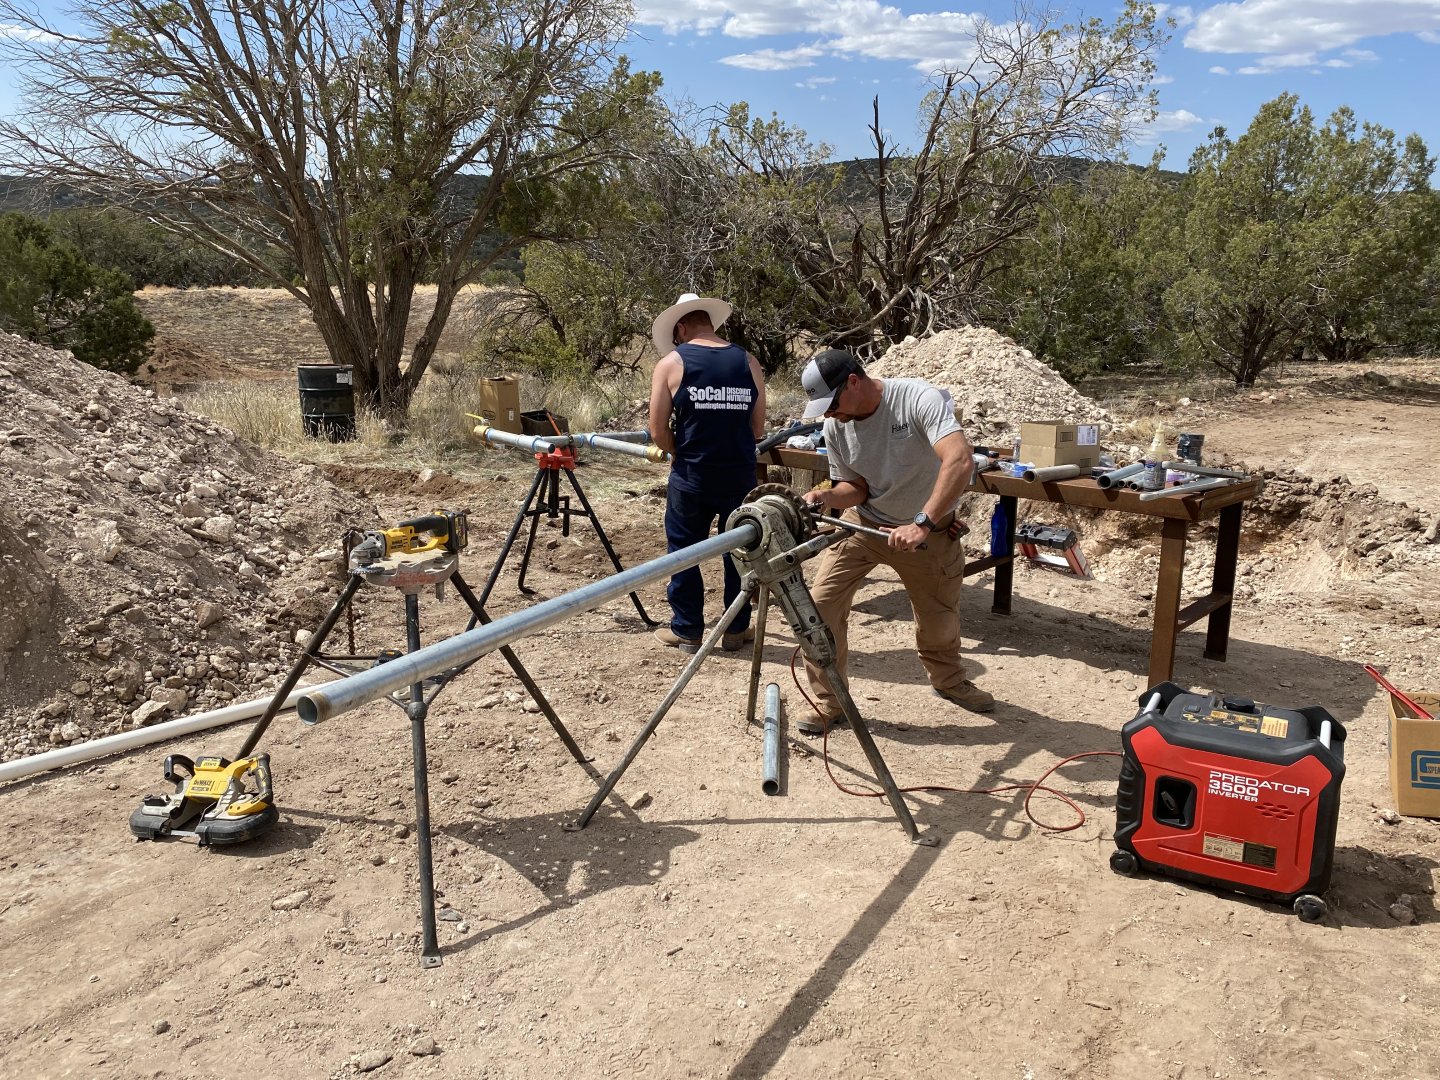
Speaking of plumbing manifolds…… We build everything from galvanized pipe these days- way less fragile if you have to tap in later. Having the ability to cut and thread our own pipe speeds things up considerably and allows us to make adjustments to designs that look good on paper but cause problems in reality.
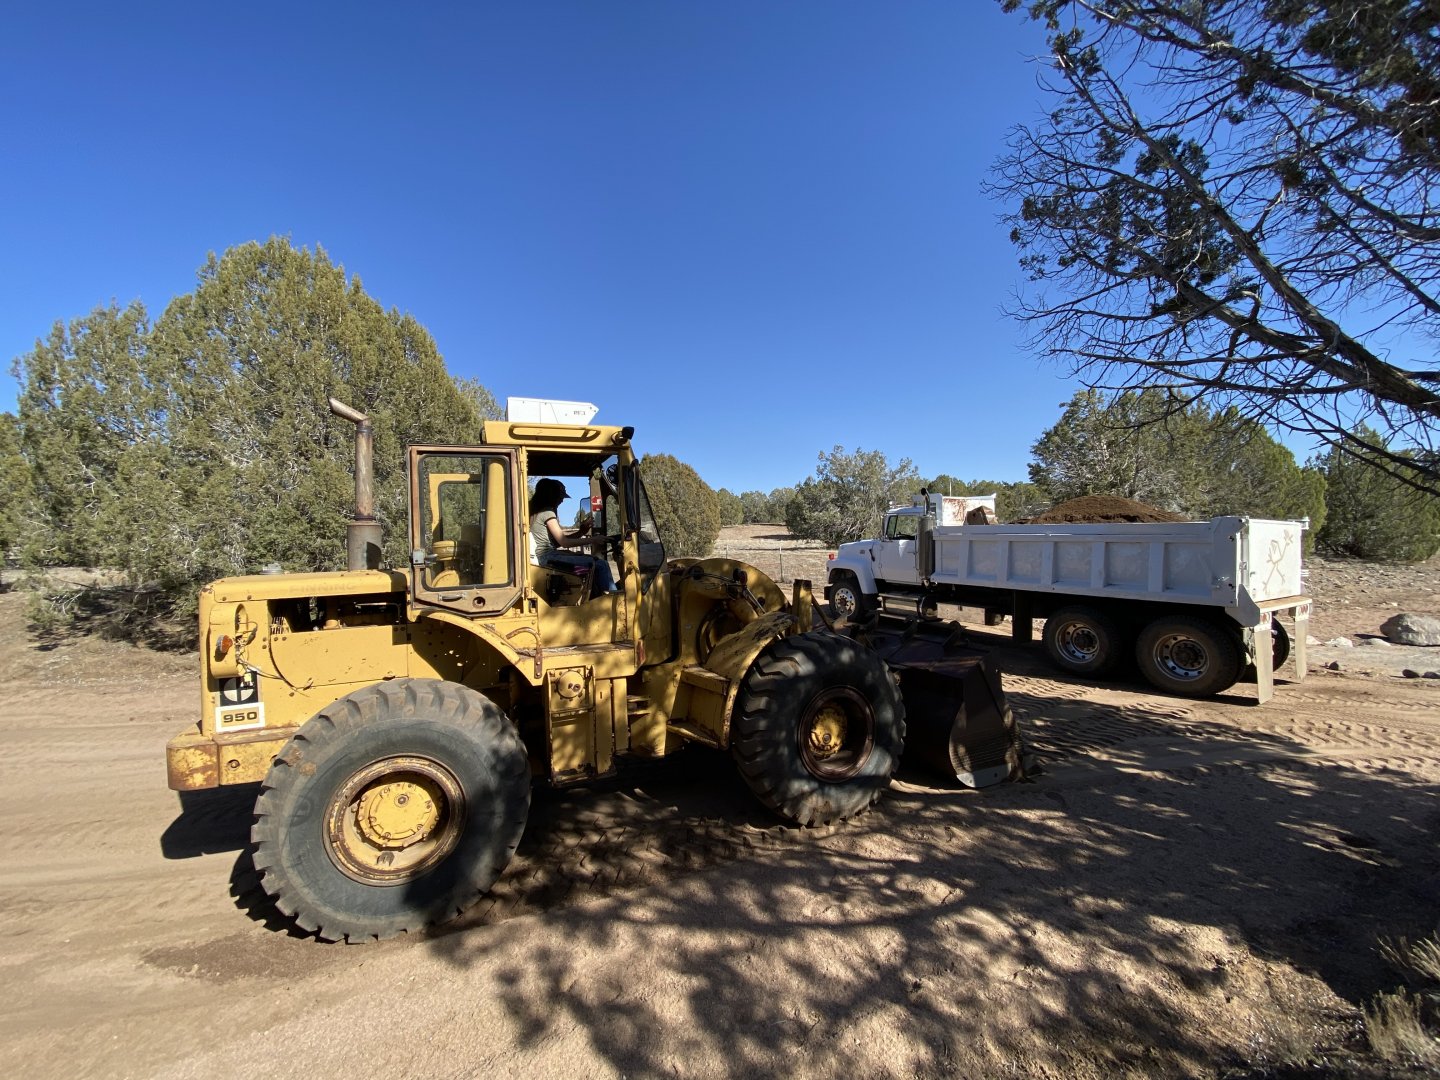
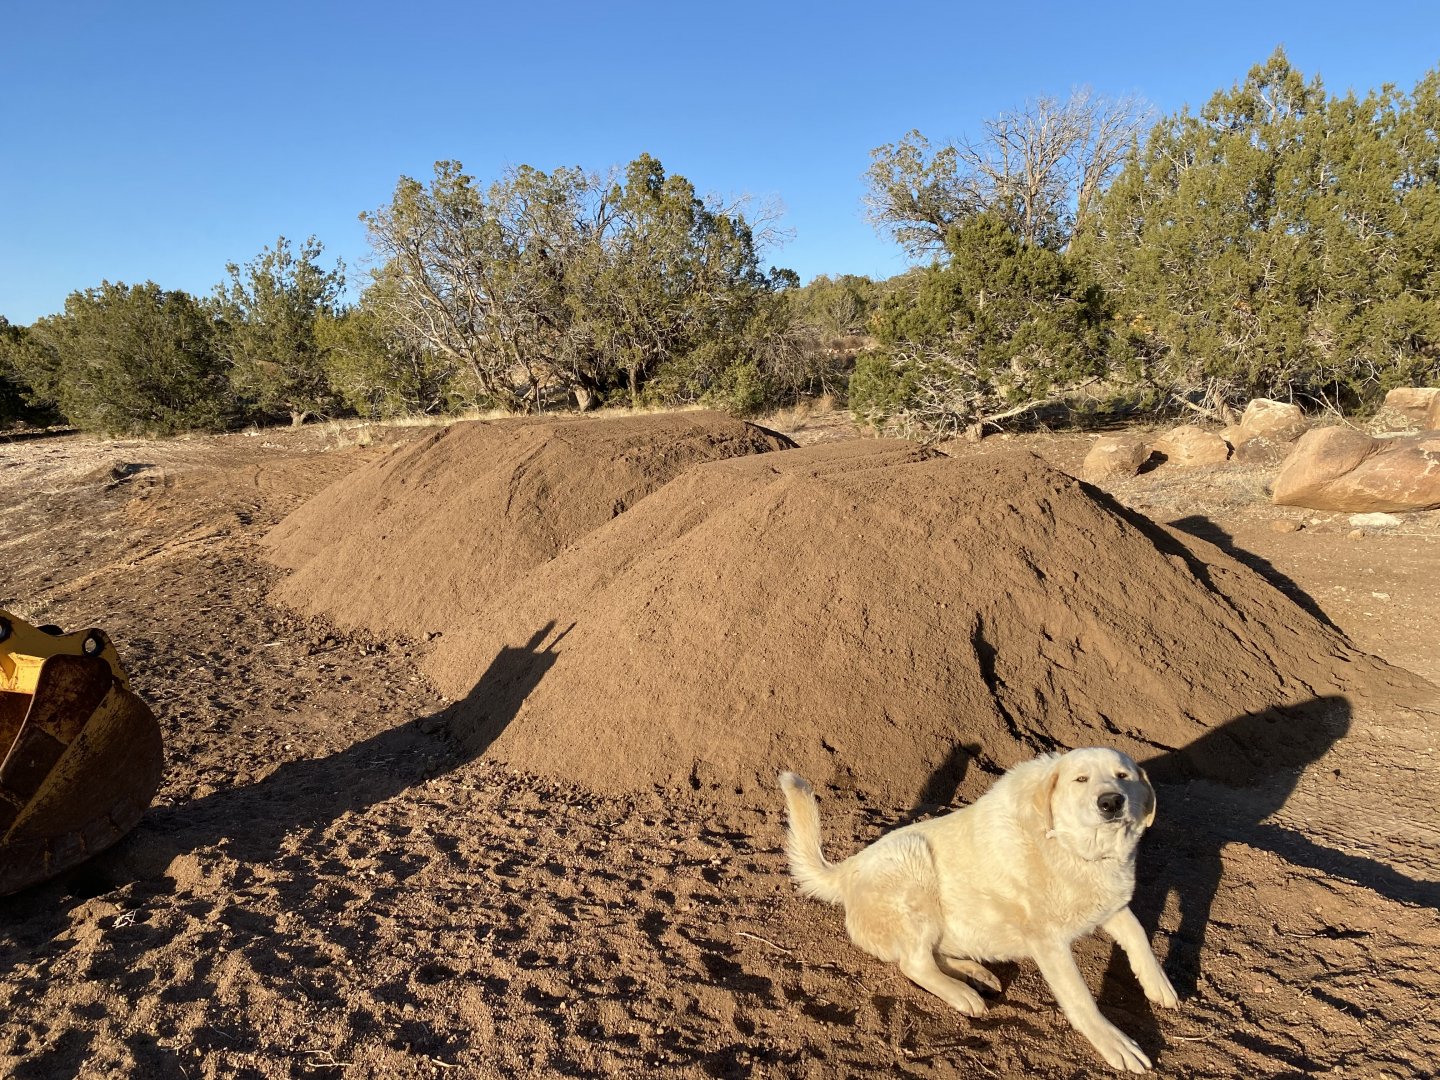
Before we get too carried away, we need lots of screened sand from one of several dry creek beds close to us to shade in trenches and backfill all this new and very expensive plumbing.
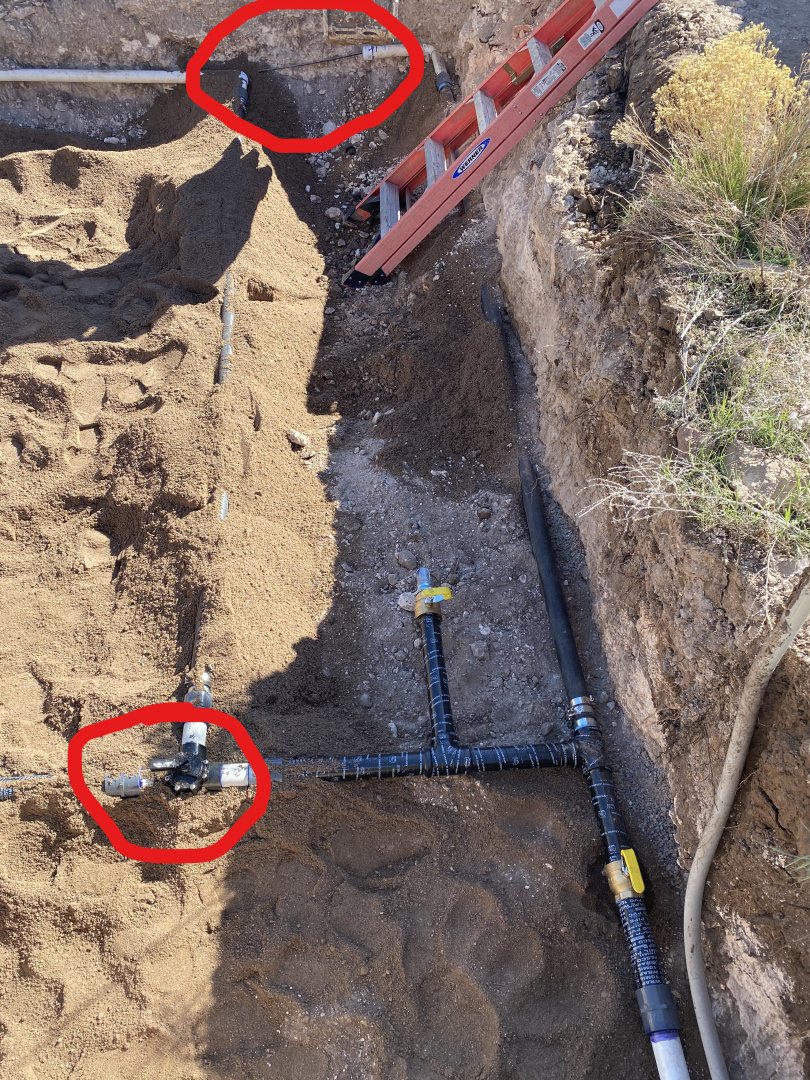
Locating and tapping into a water line that’s been in the ground almost 7 years, 3′ deep can stress a guy out. Luckily, we pulled it off without destroying it. Top red circle shows the original pipe after we cut and tapped into it for our new manifold. Bottom circle shows the 2″ Jandy valve that allows us to split the system in two.
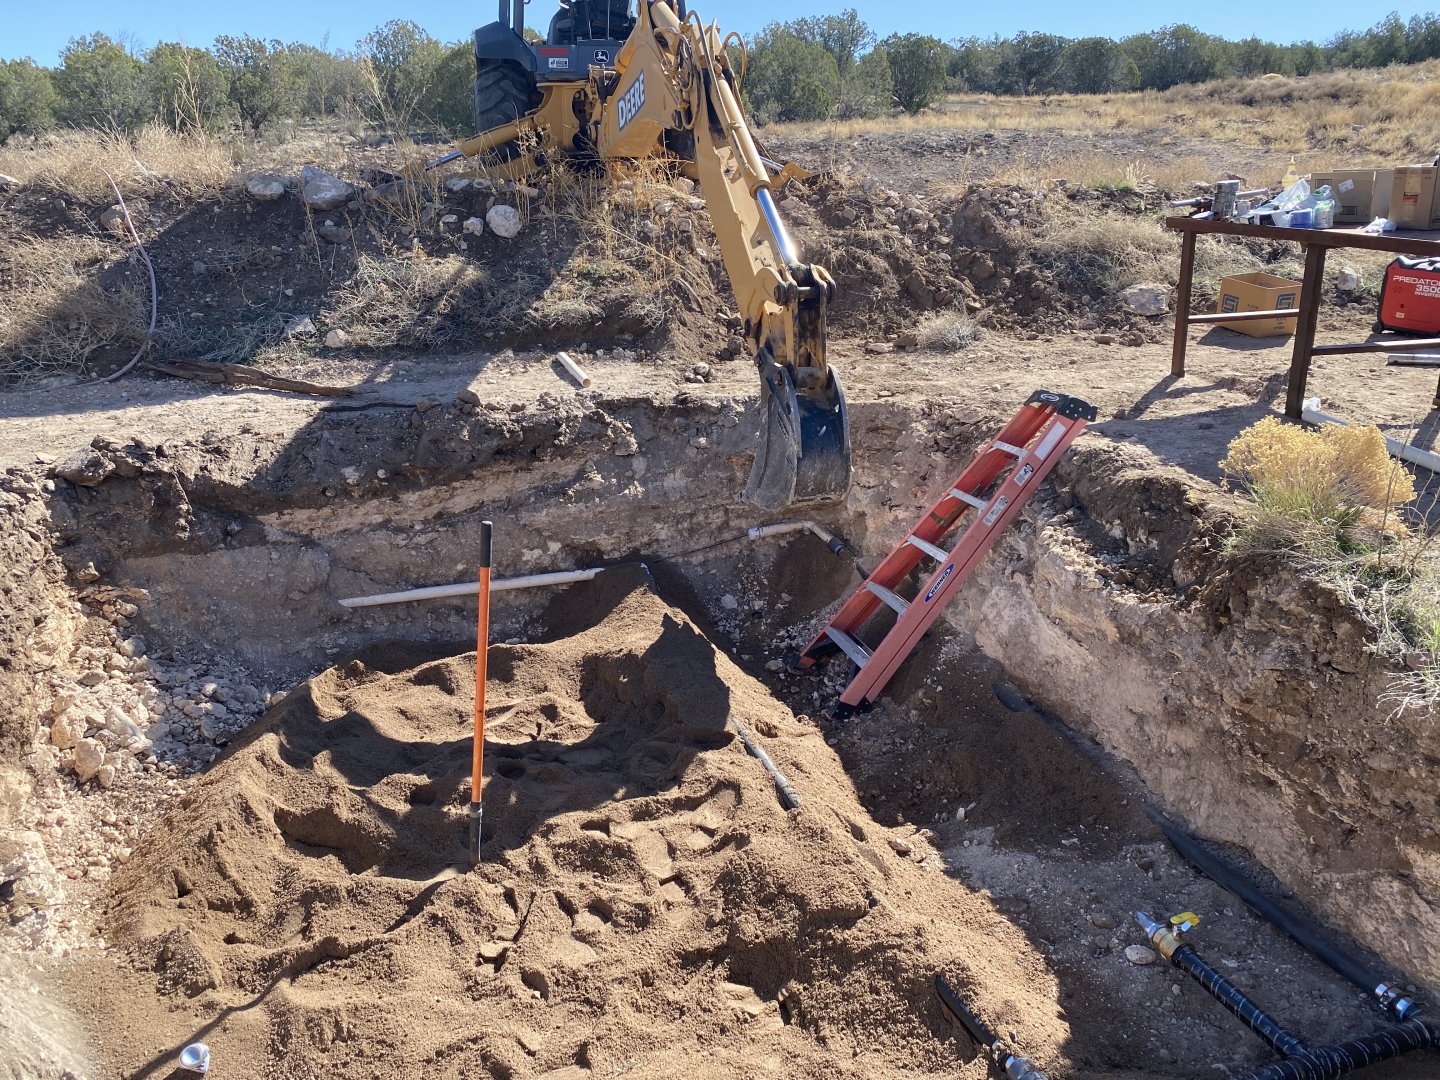
Set-up backhoe to trench up to the high tunnel.
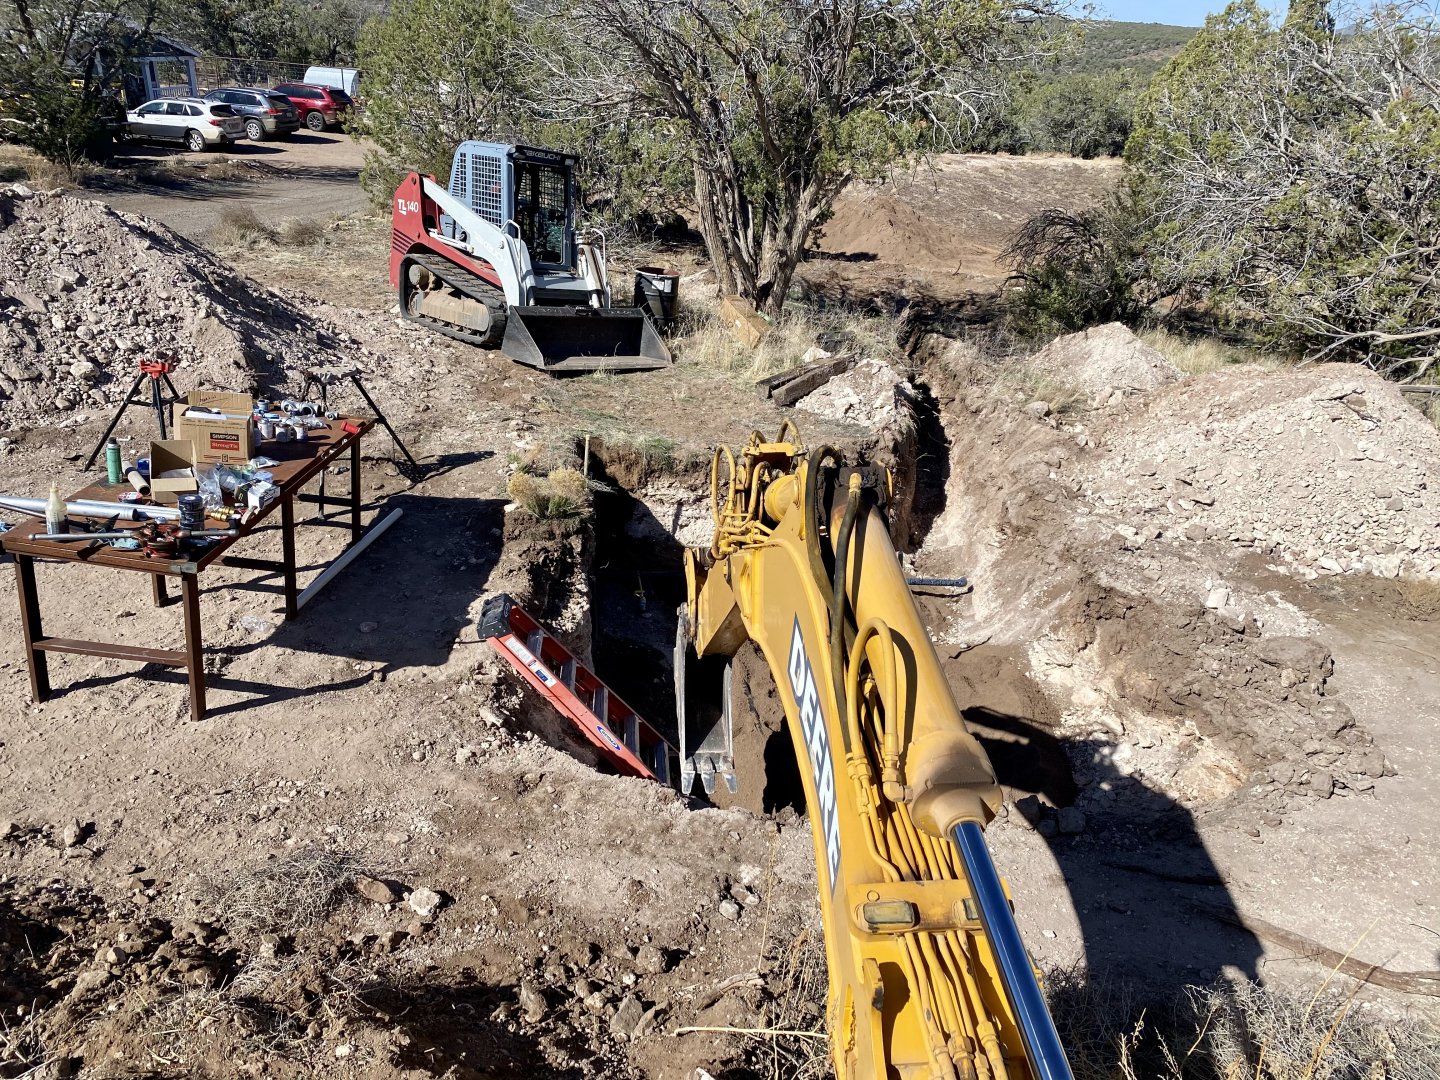
View from the other direction. You can see that I’ve already done the trench for the two inch fill line to the pond.
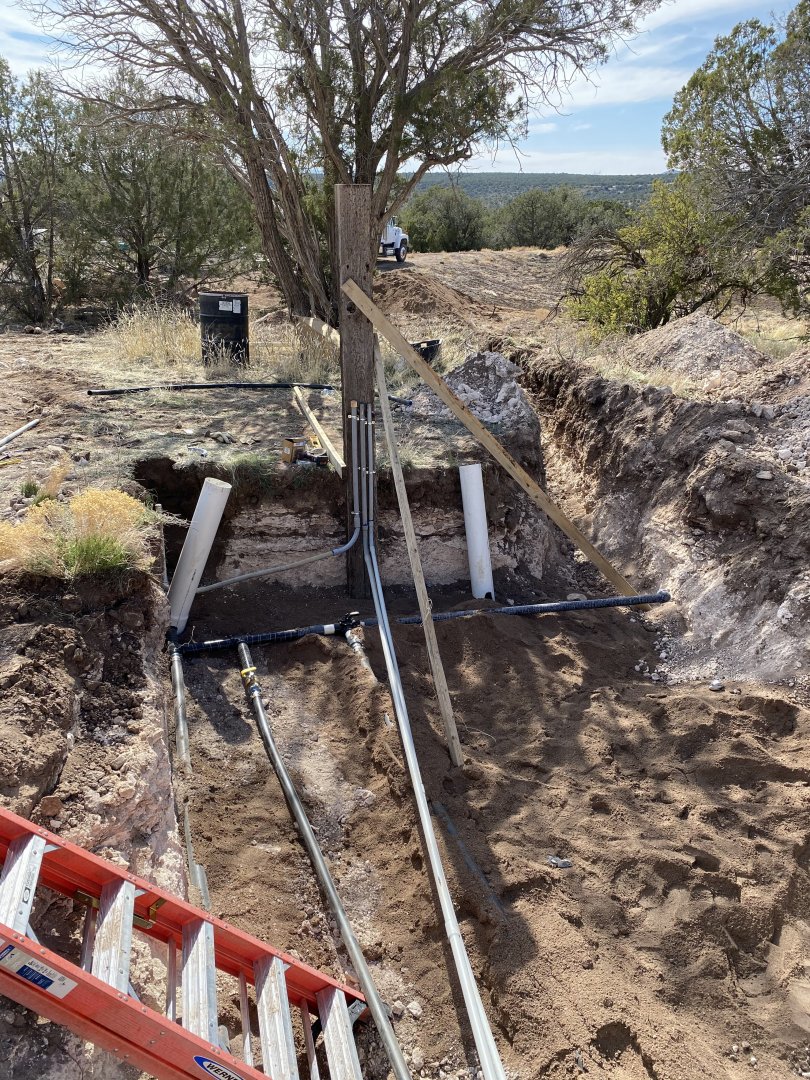
All the plumbing done, and leak tested. Conduit was extended from original stub up over to the high tunnel. We’ll eventually do lighting and fans in there; both will be run by the house solar system.
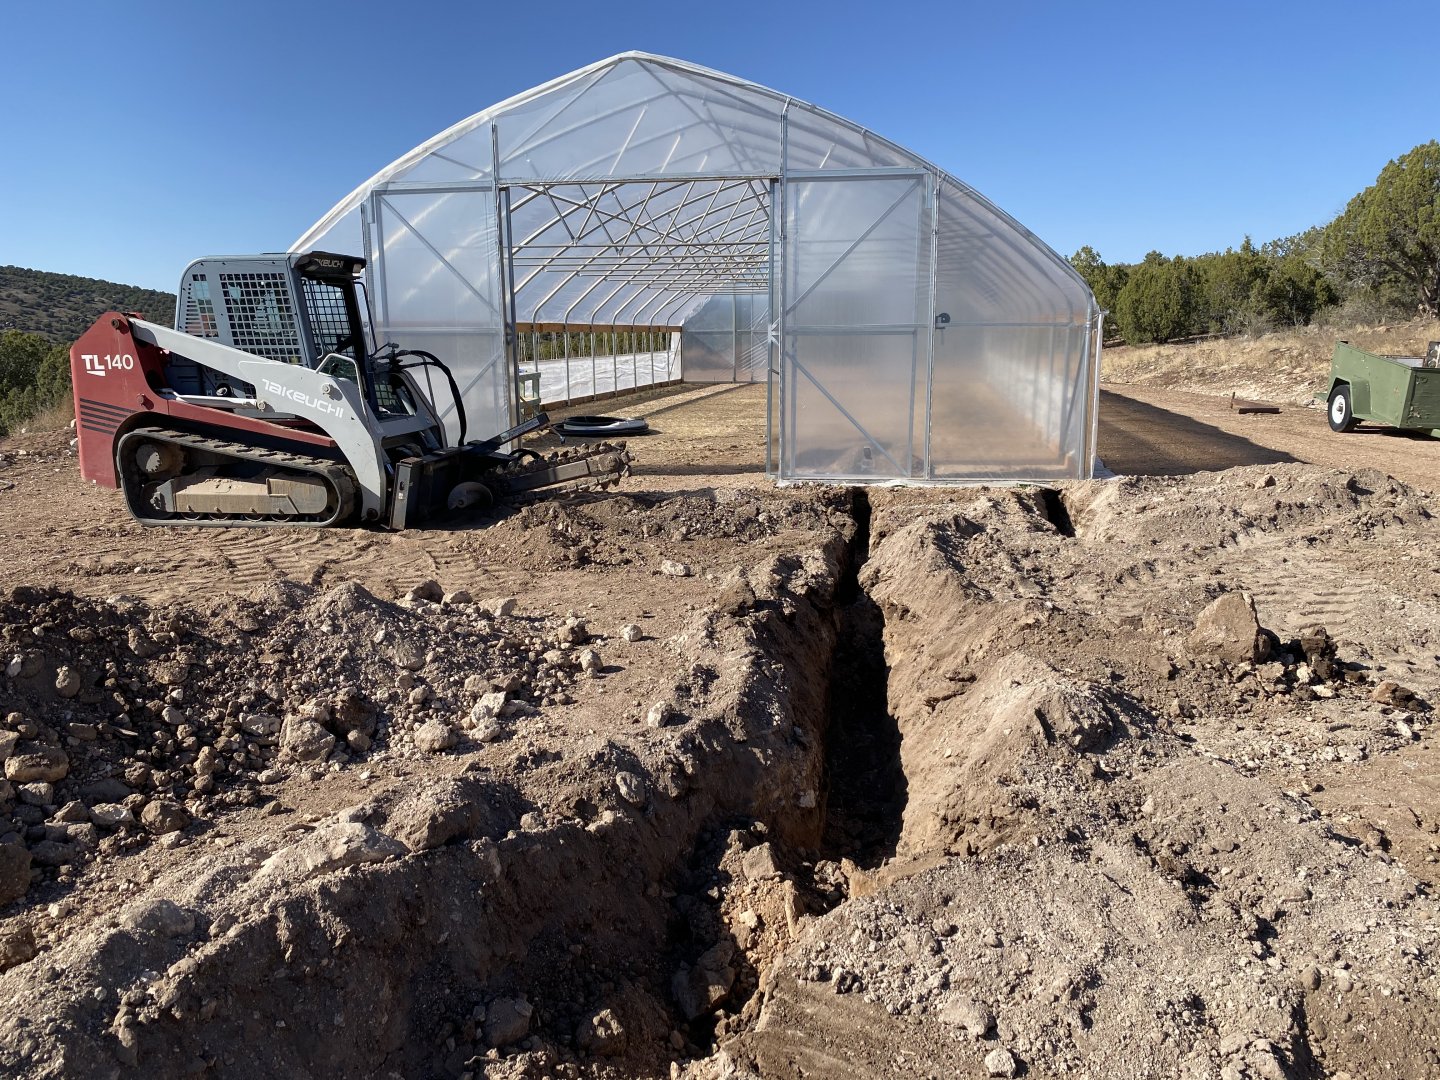
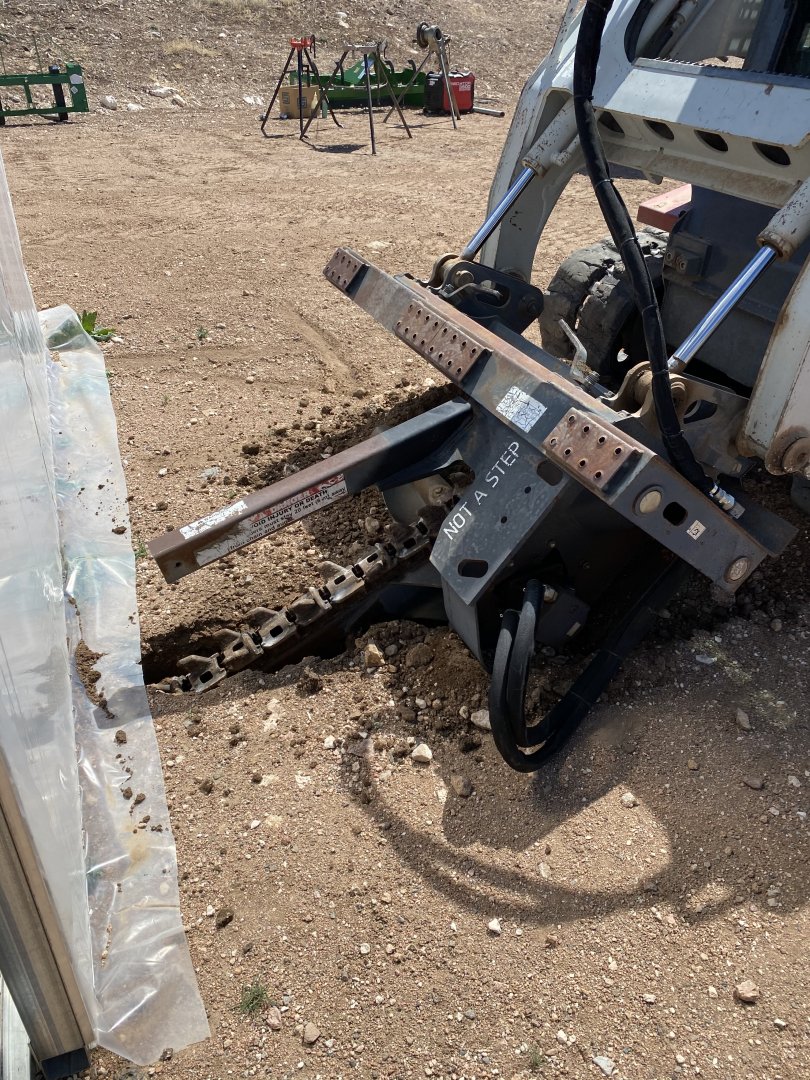
Trenching to the tunnel was done with the backhoe but the delicate work of tunneling under the frame was left to my buddy’s skid steer with a trenching attachment.
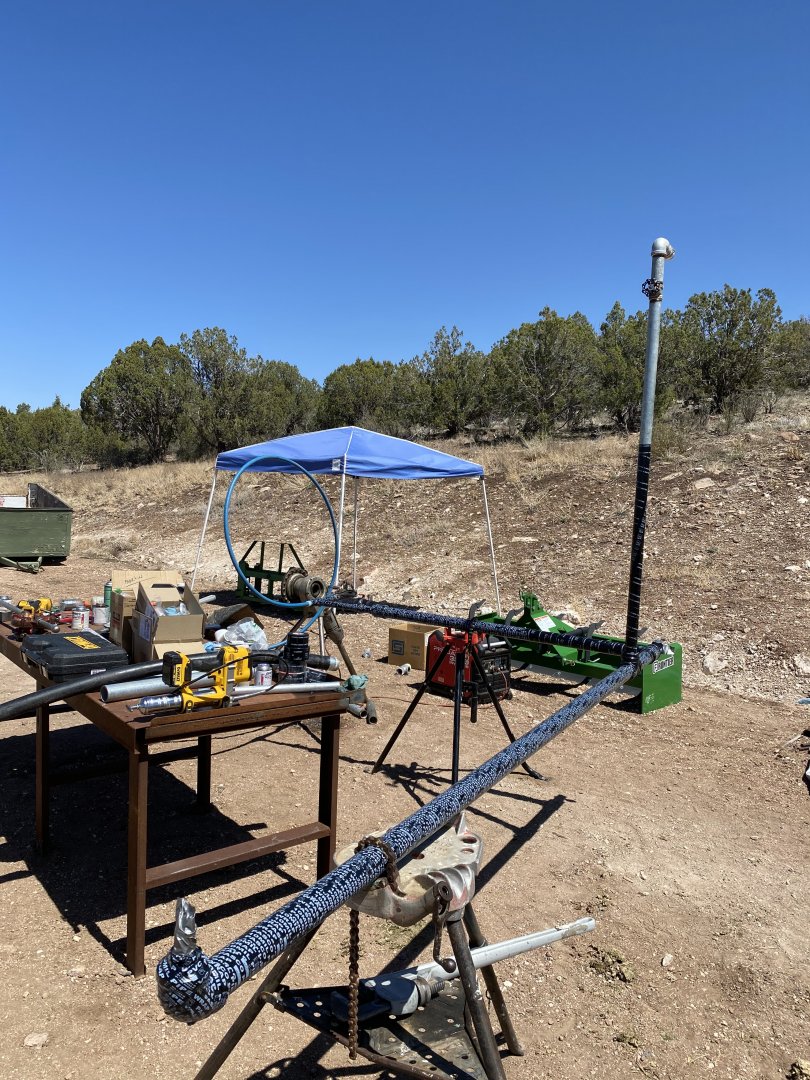
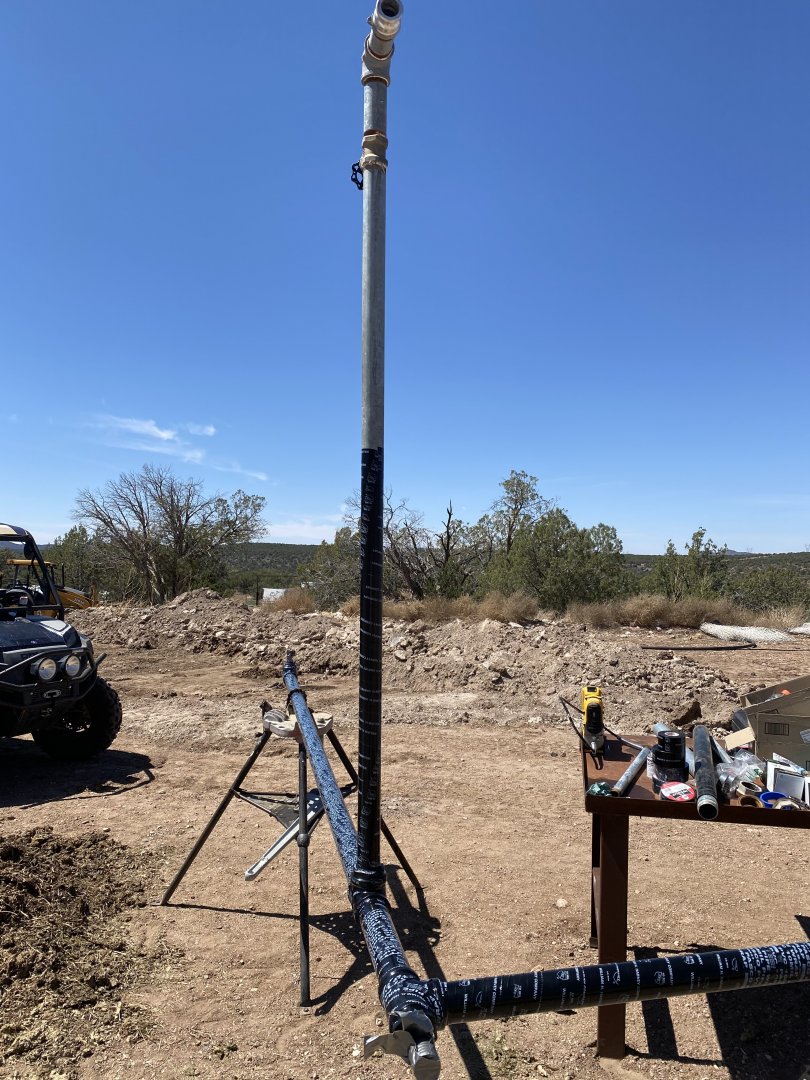
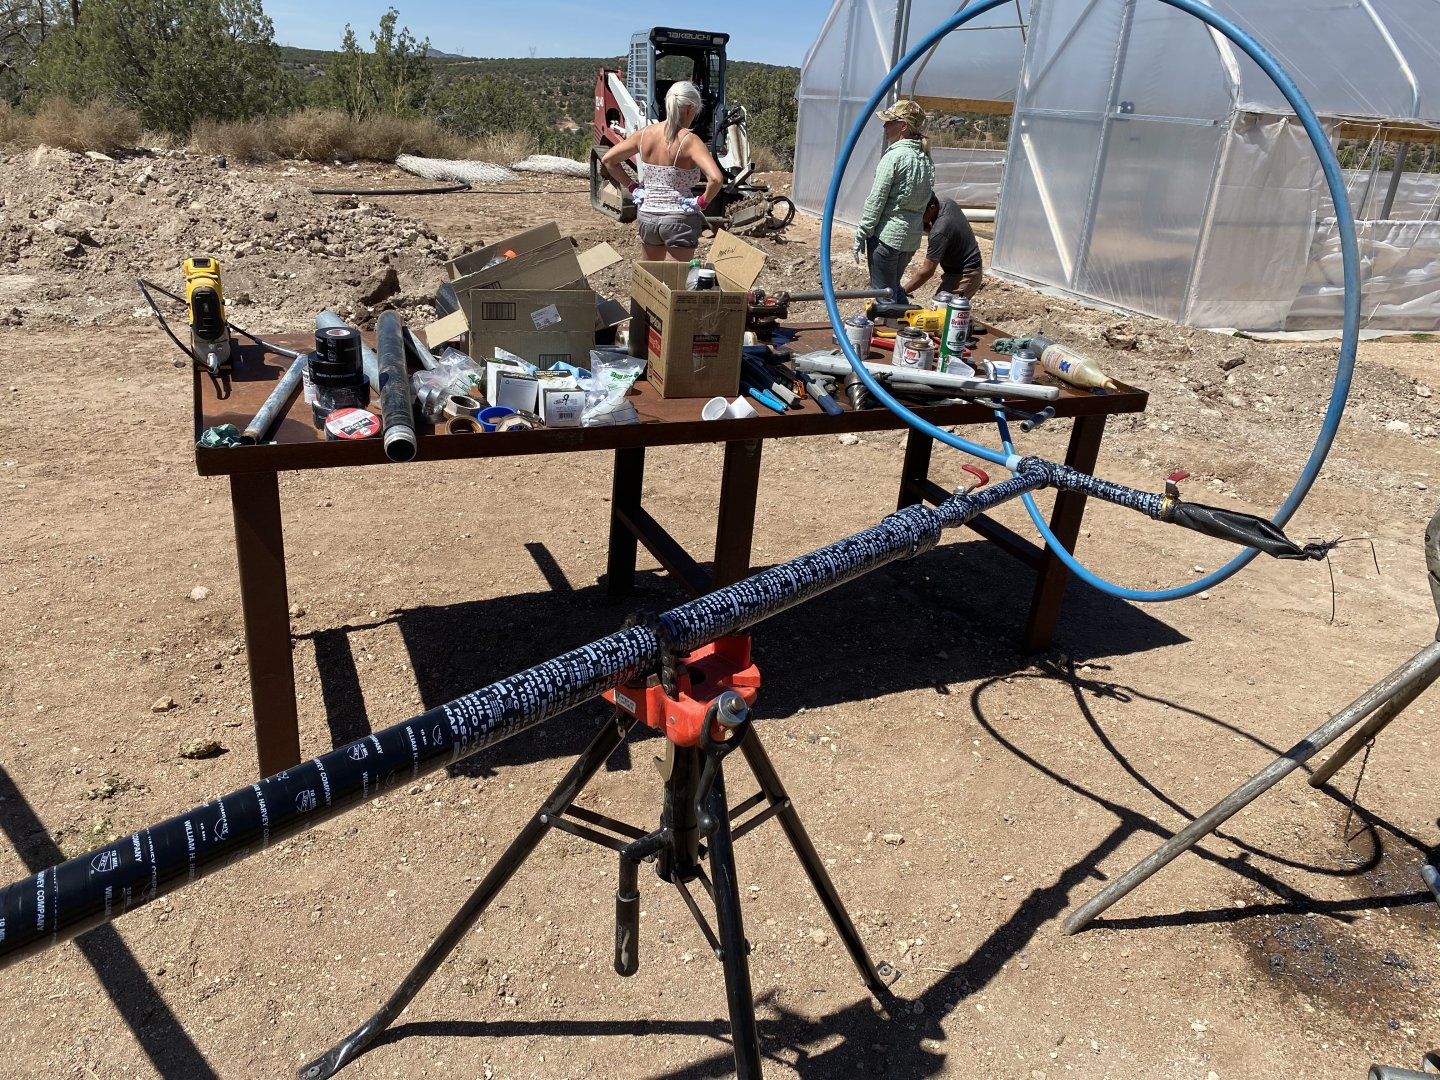
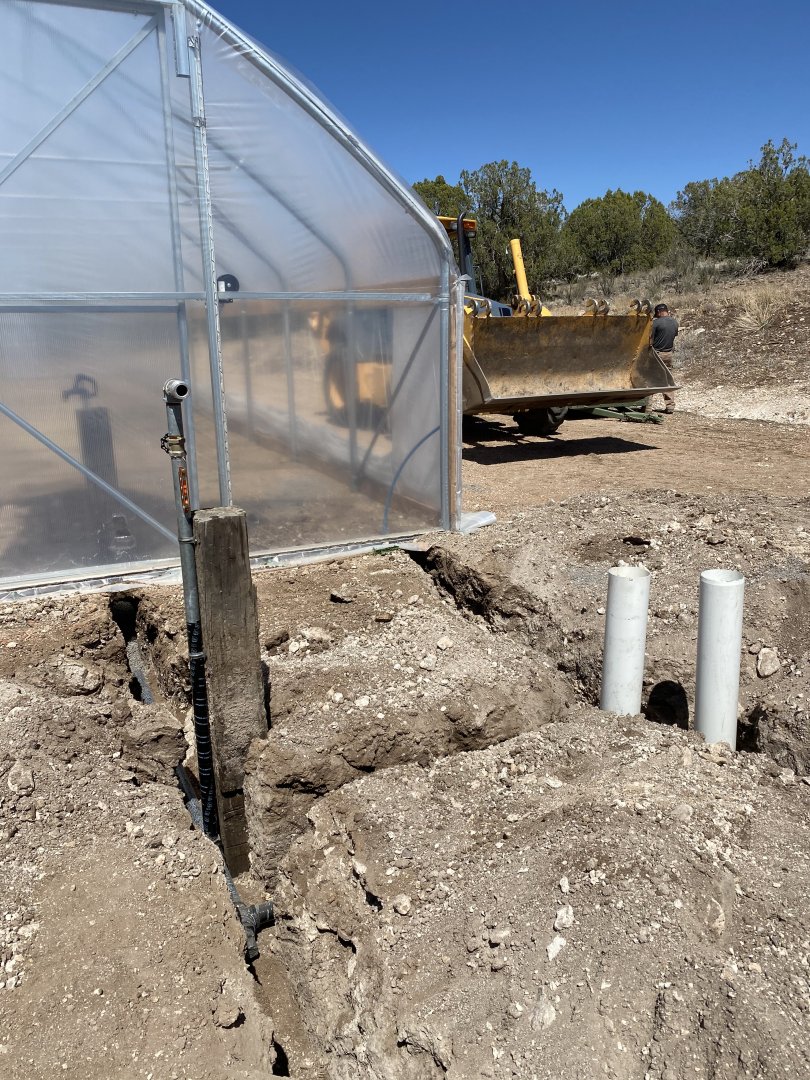
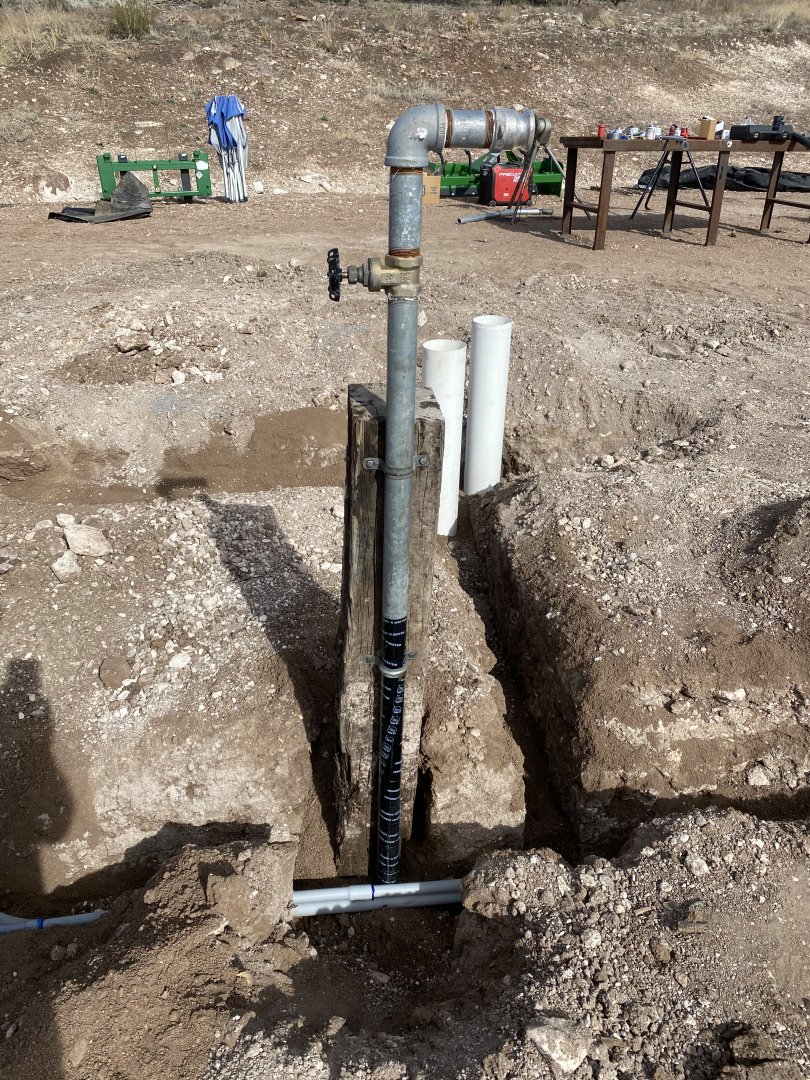
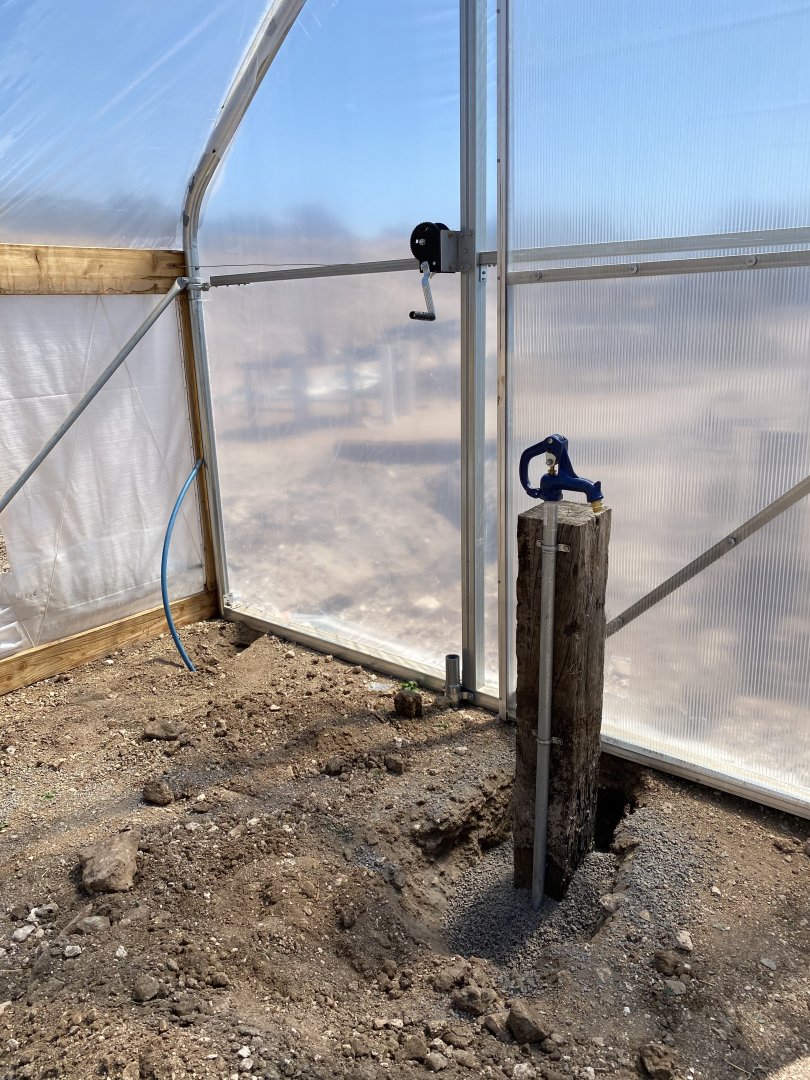
Back to building more plumbing on stands. This is one drop in assembly that has a 1.5″ hydrant set-up for using a fire hose to wet compost piles in front of the high tunnel as we cook them down. There also a single PEX line to feed a three compartment sink inside for washing veggies. All irrigation is either overhead or lays on the ground for easy movement during different seasons so attaching to a single frost-free valve was the best way to keep from freezing when not in use. You’ll see a bunch of 6″ PVC uprights in these photos. It’s how we bury the valves yet keep them accessible. Notch the bottom of the pipe, wrap in landscape cloth so no dirt or gravel gets in and use long valve tools to operate.
Nothing too glamorous, just a bunch of work and even more money.
