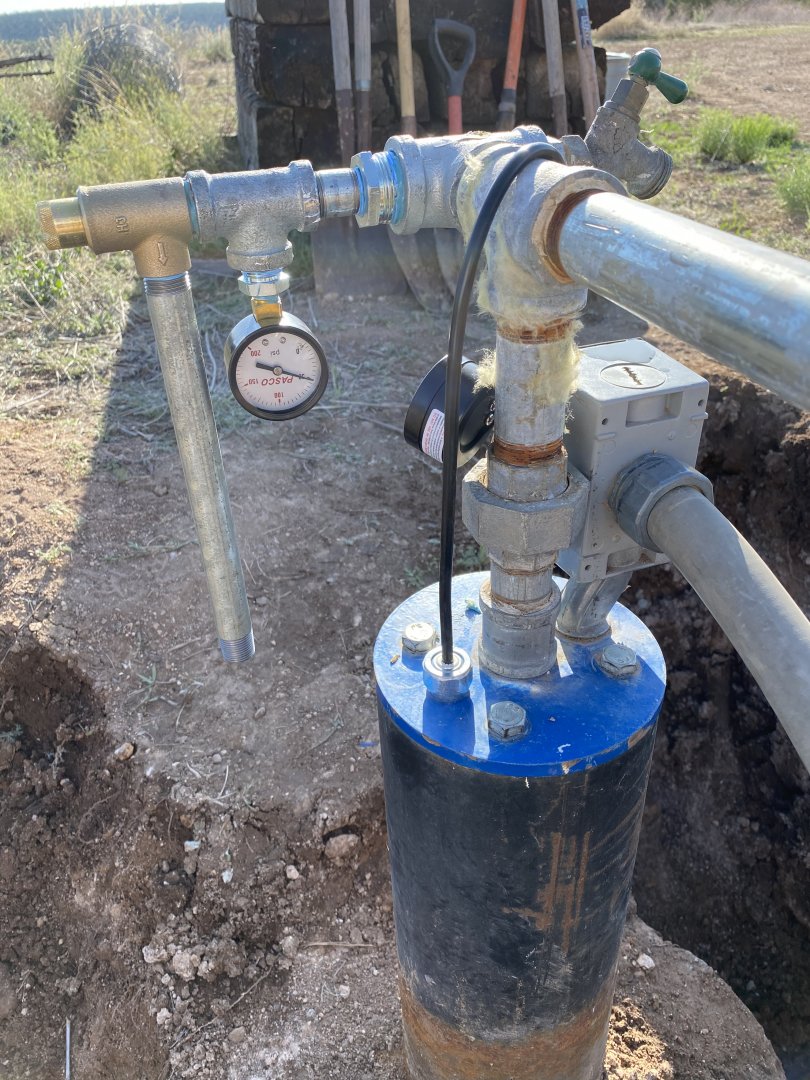
A long time dream/project has been a water system upgrade. Our existing system was serving us well, but the original pad was slowly eroding because of poor drainage. Because of this, there was some tank settling and stress on the plumbing connections. Knowing it was going to require a complete “re-do” from the ground up, it just kept getting pushed back. With so many hands to help and the family’s self-quarantine through the first several months of COVID, it was time.
Thank you for visiting, don't forget to subscribe!
Besides fixing the foundation, we upgraded our water well pump from 6gpm to a Grundfos 12.5gpm along with new, more efficient solar panels to run it along with adding 10,000 extra gallons of storage. Overkill, perhaps, but it’s the dream system I’d been thinking of for years.
Over the years, we have found more efficient ways of using water, so even though farm production has doubled, we’re using less water. This upgrade simply gives us a considerable buffer in the future in the event of a water well pump failure, especially if we leave for any length of time.
As we grow out vegetable production, this “buffer” is more important than ever. More to come on that project later.
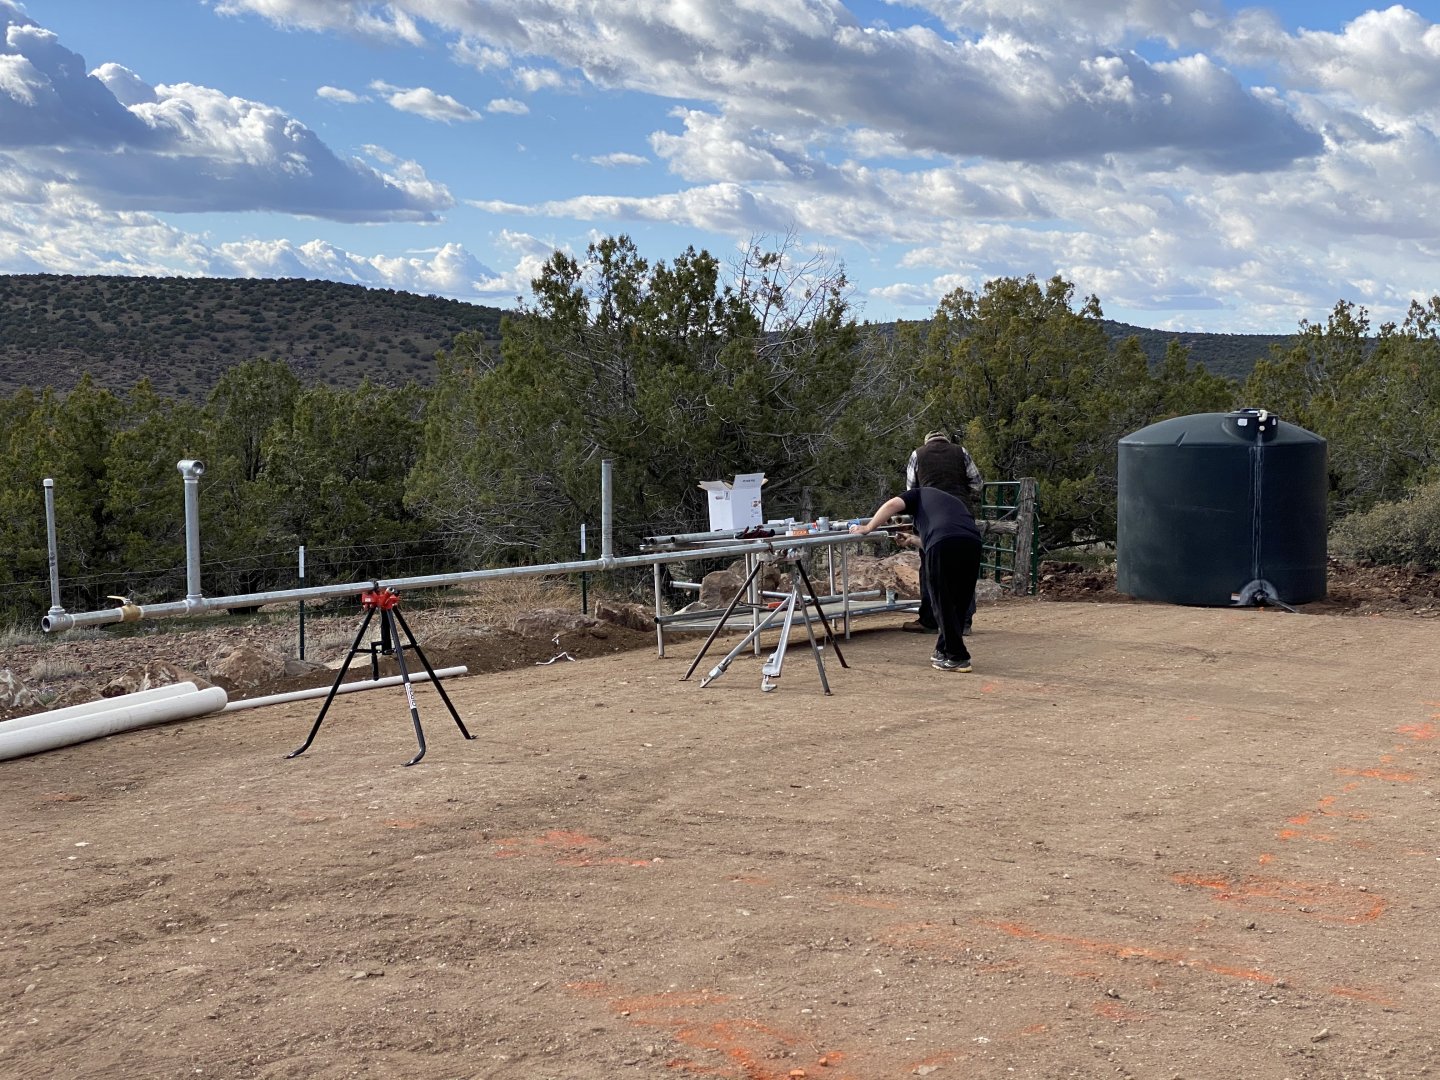
First, we had to blow out all the original plumbing and set 1 tank off-site with a temp hookup. This gives us water to live with but allows us to completely re-build the pad without having to work around things. The first set up was a mix of 2″ PVC underground with galvanized above ground. It all shattered at the PVC to galvanized connections when we started working with it. The new manifold is all galvanized to keep that from happening again if we ever have to service or add to it.
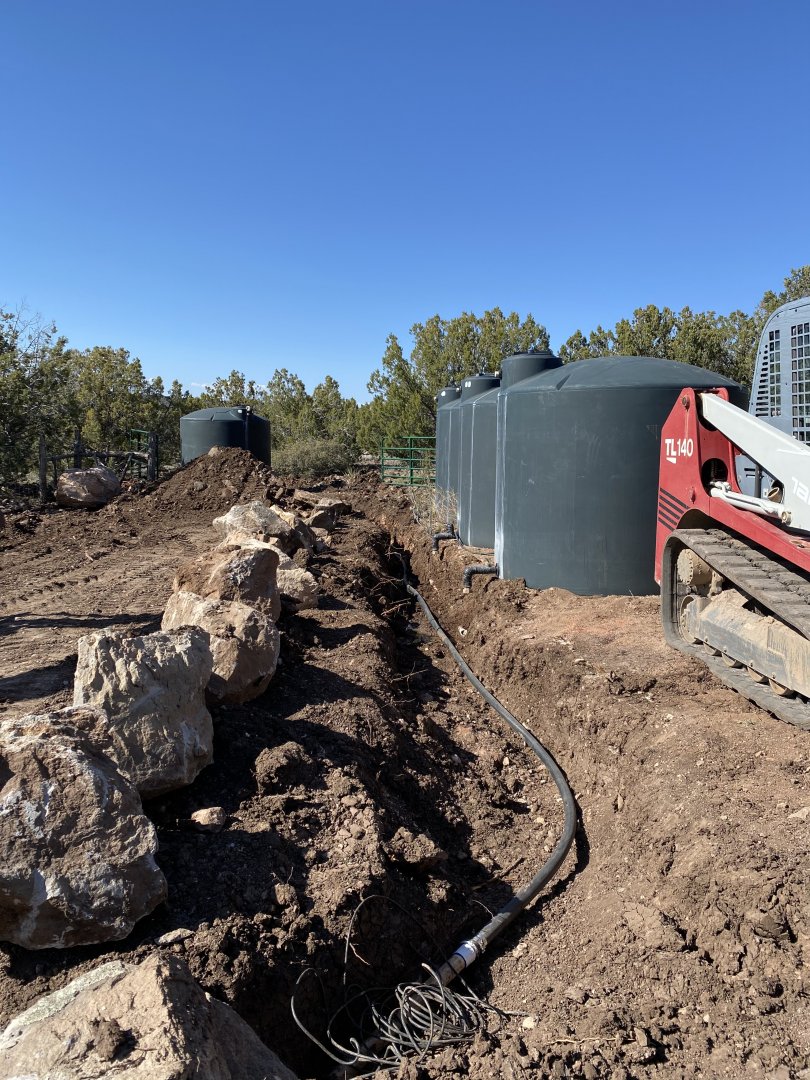
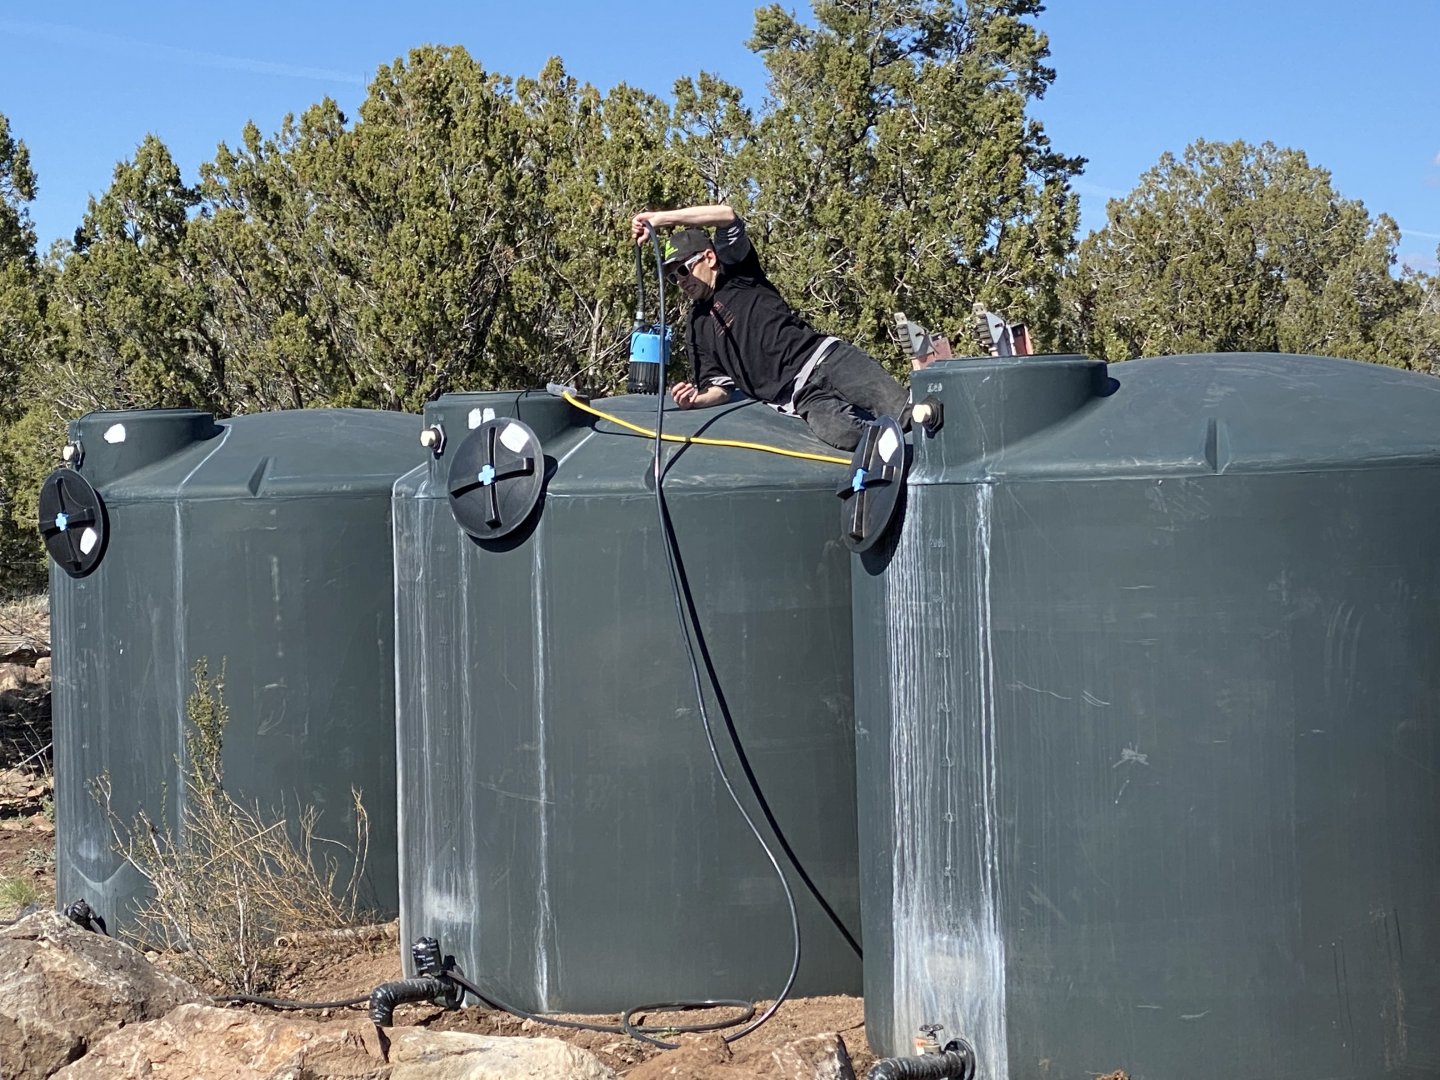
We spent a few days collecting large boulders to use as a retaining wall for the new pad. While my son uses a sump pump to completely empty the old tanks, my buddy is using the thumb attachment on his excavator to set the boulders into place.
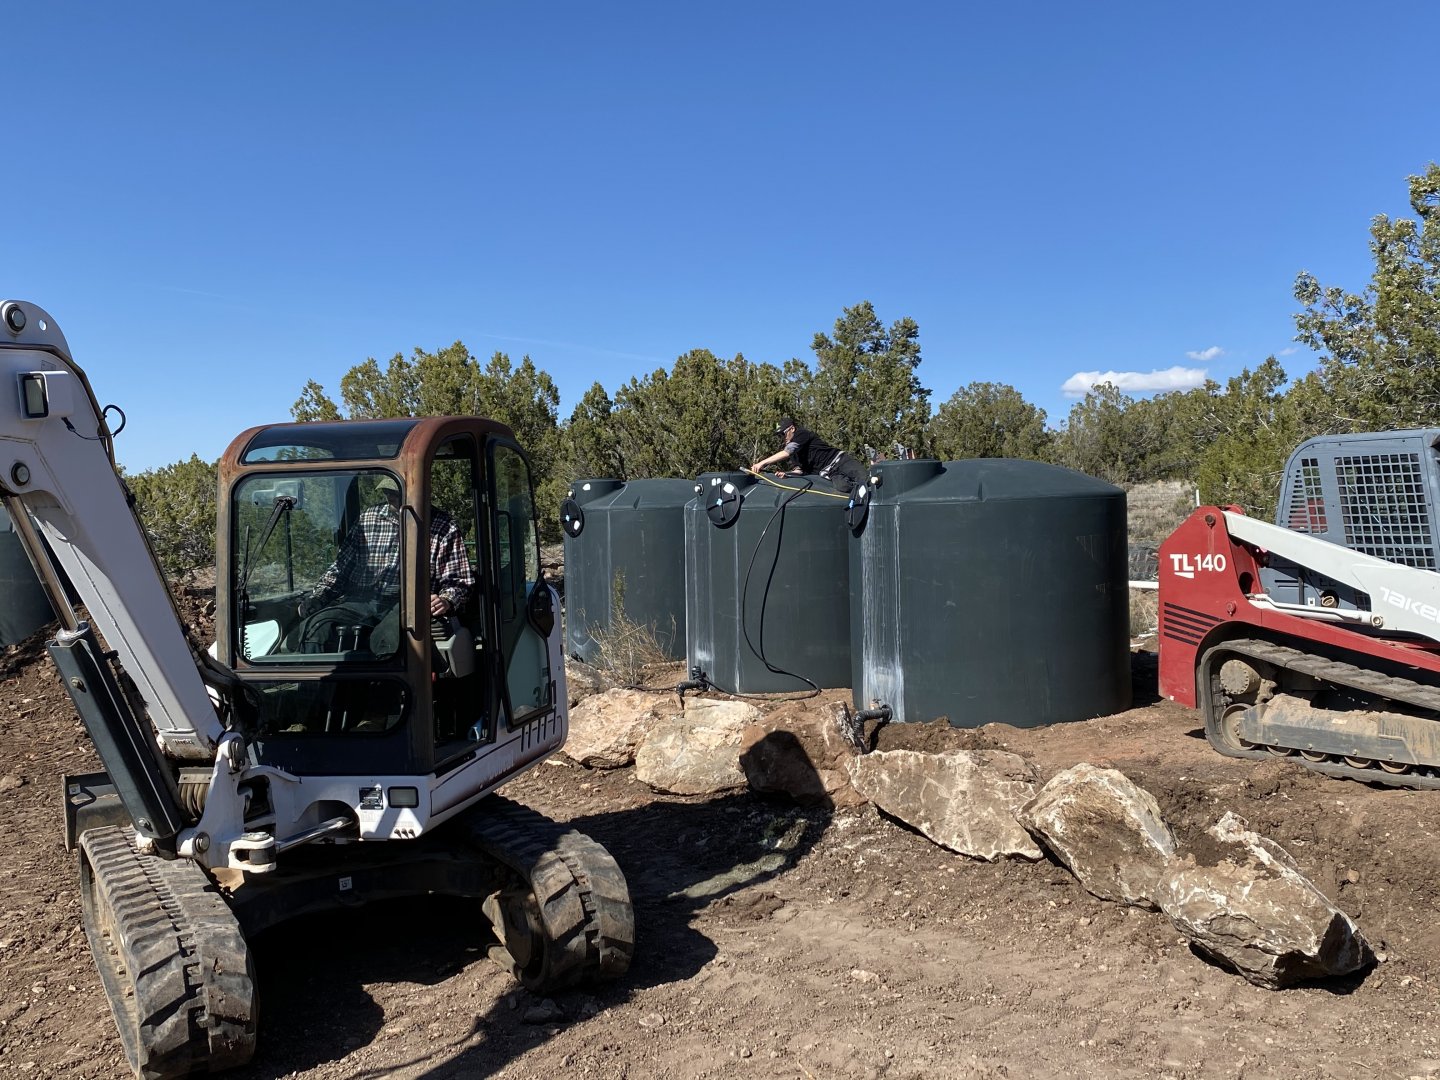
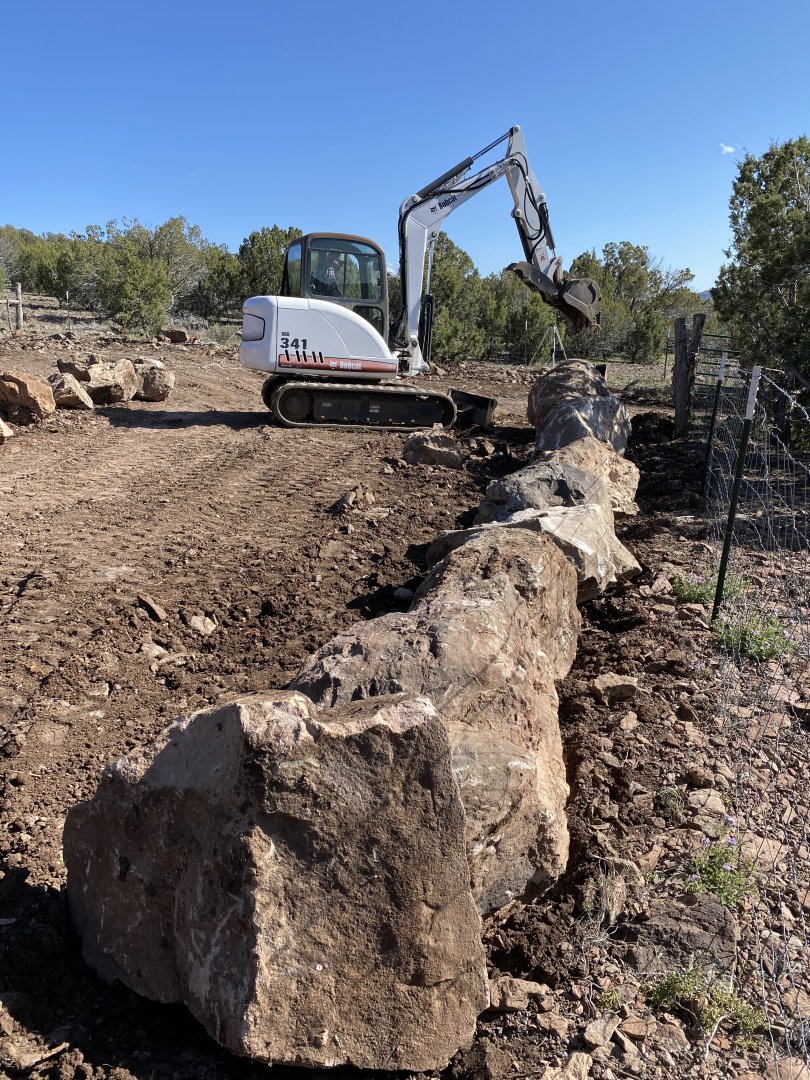
Me and the boy collecting boulders.
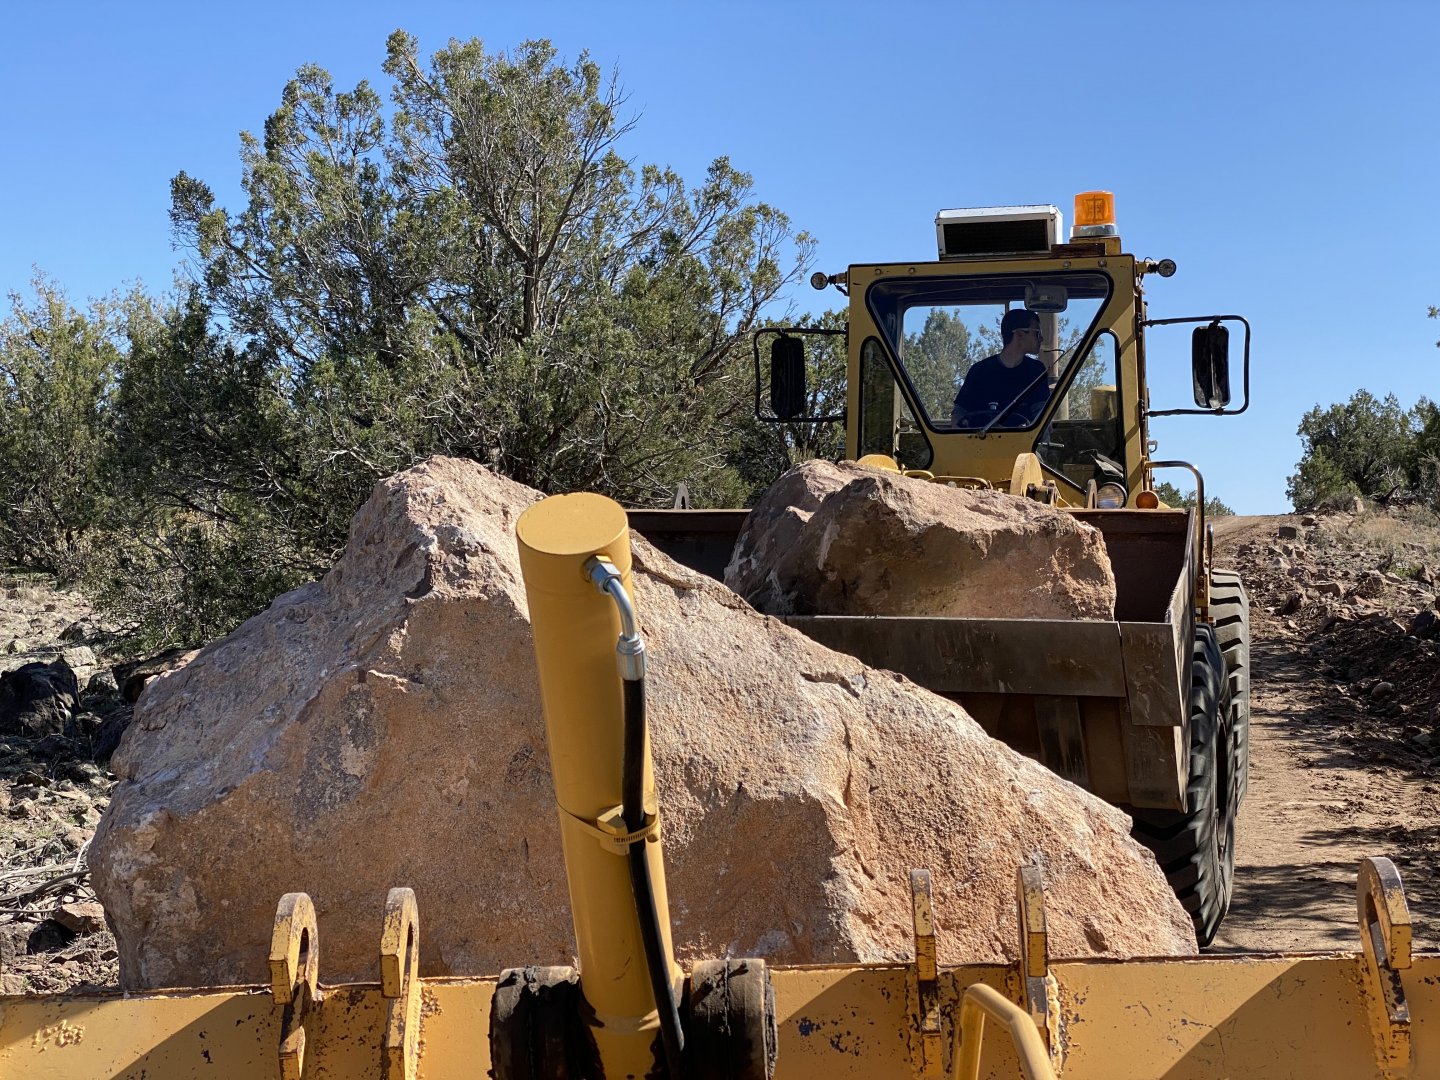
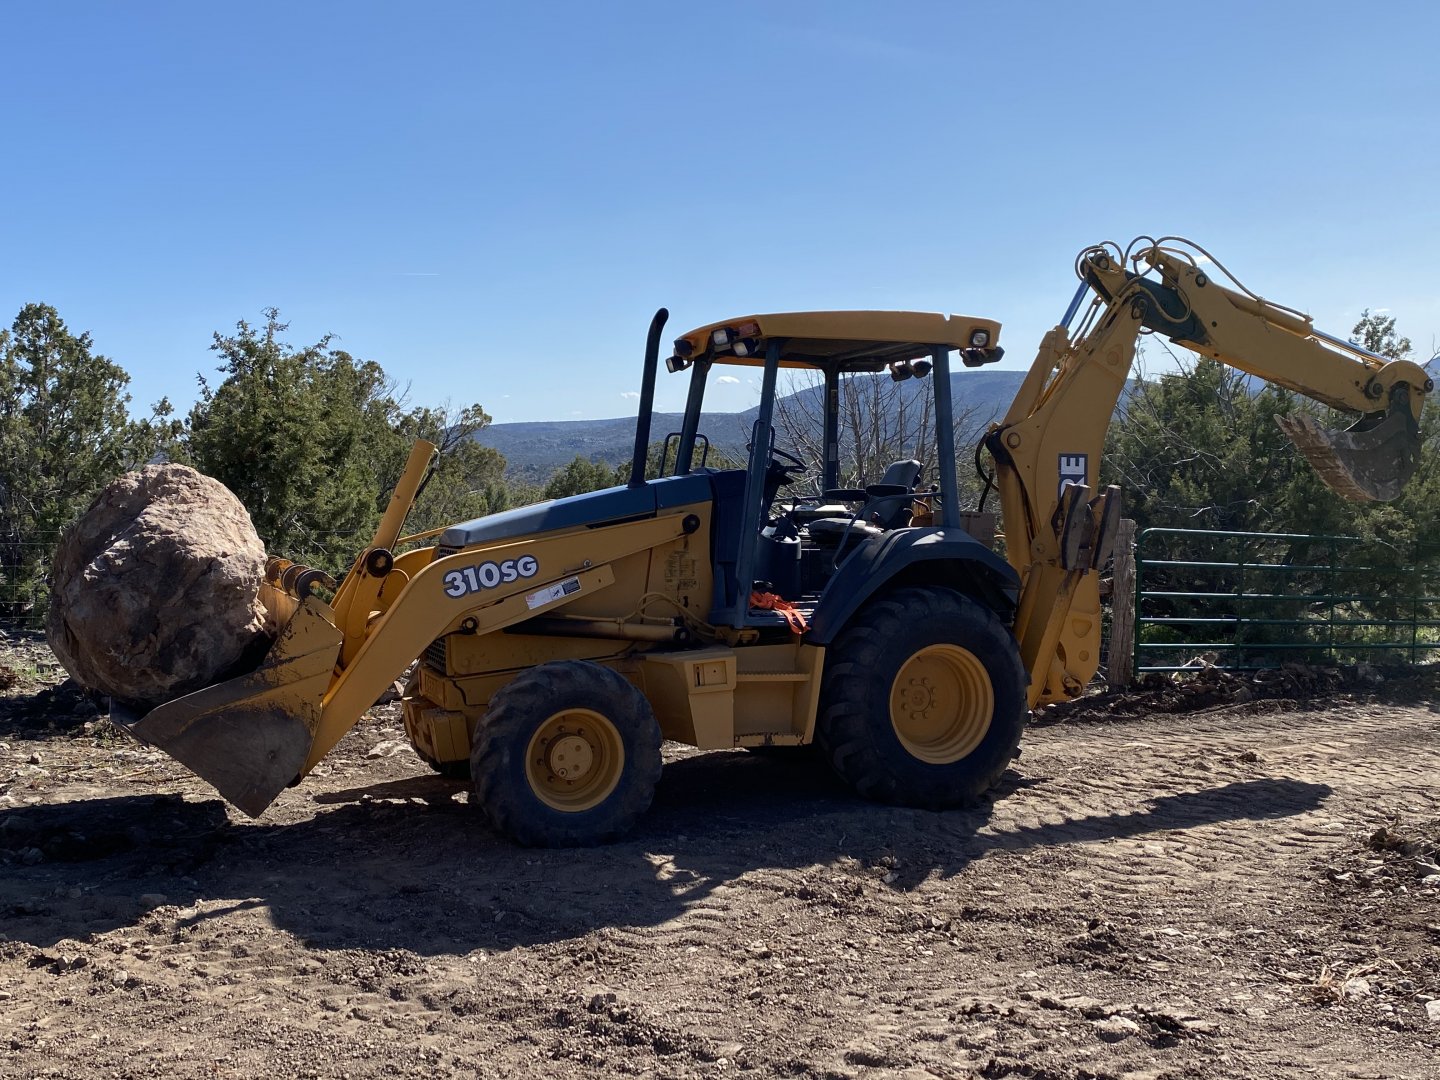
Me finding the limit of what my backhoe can safely carry. I had to extend the dipper stick to counter balance and get weight on the back tires since that’s where the brakes are.
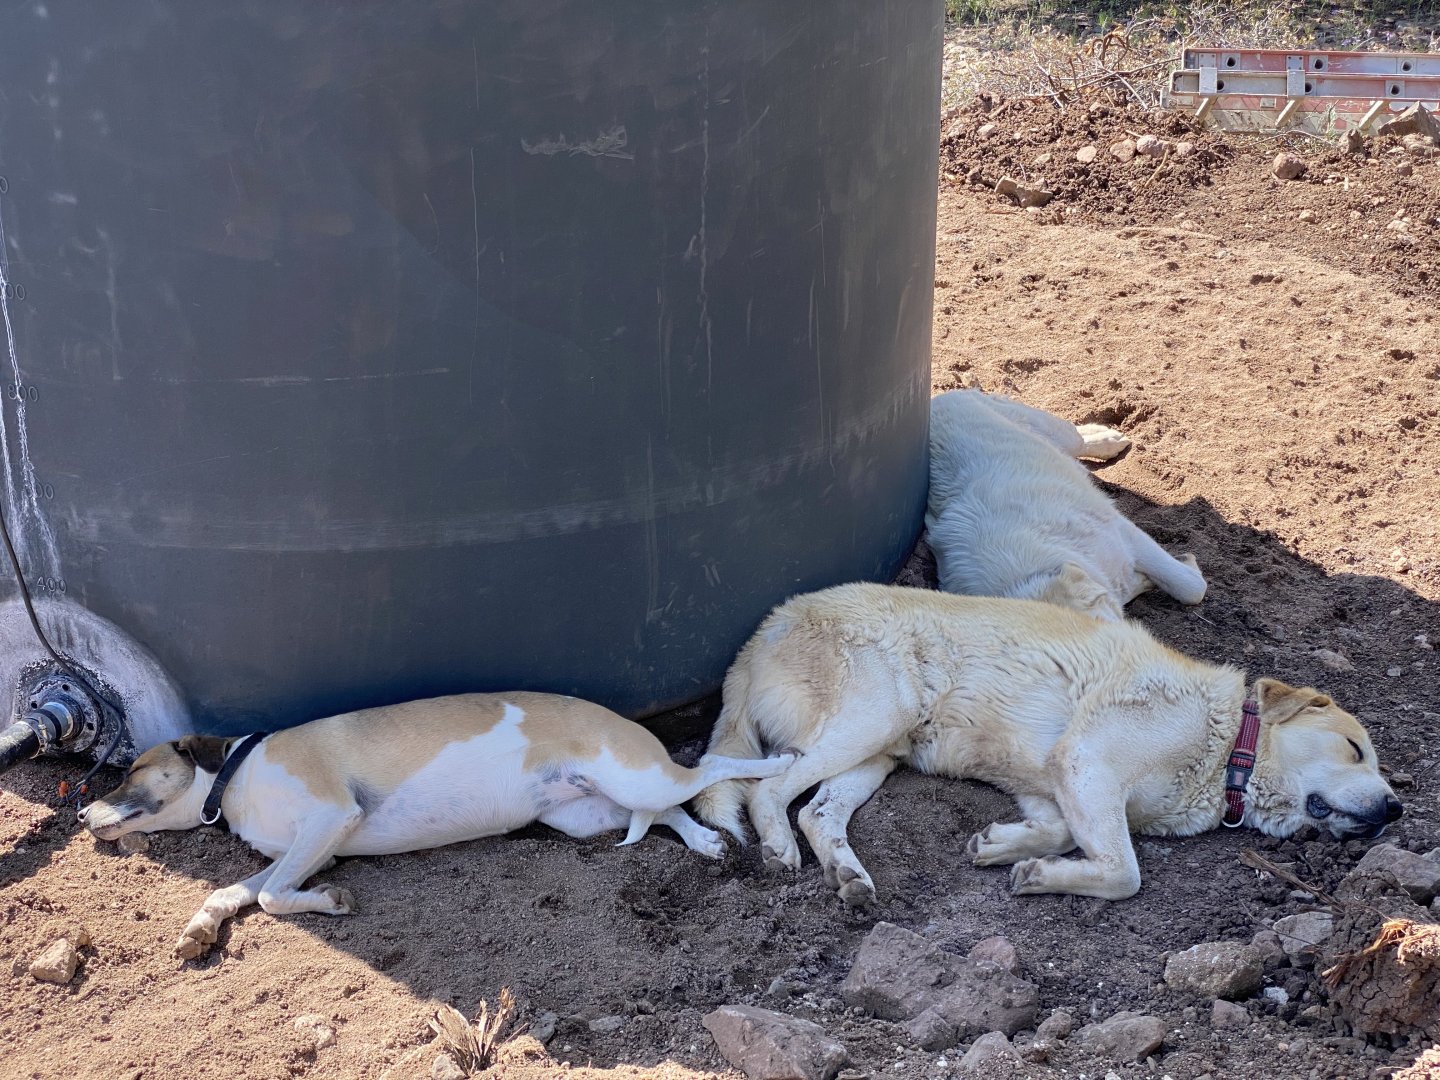
The dogs supervised the entire process.
I’m going to spare you from looking at pics of the three days we spent screening and building 150 plus yards of AB material that we laid in and wheel rolled 6″ to 8″ at a time. Here’s the midway point though.
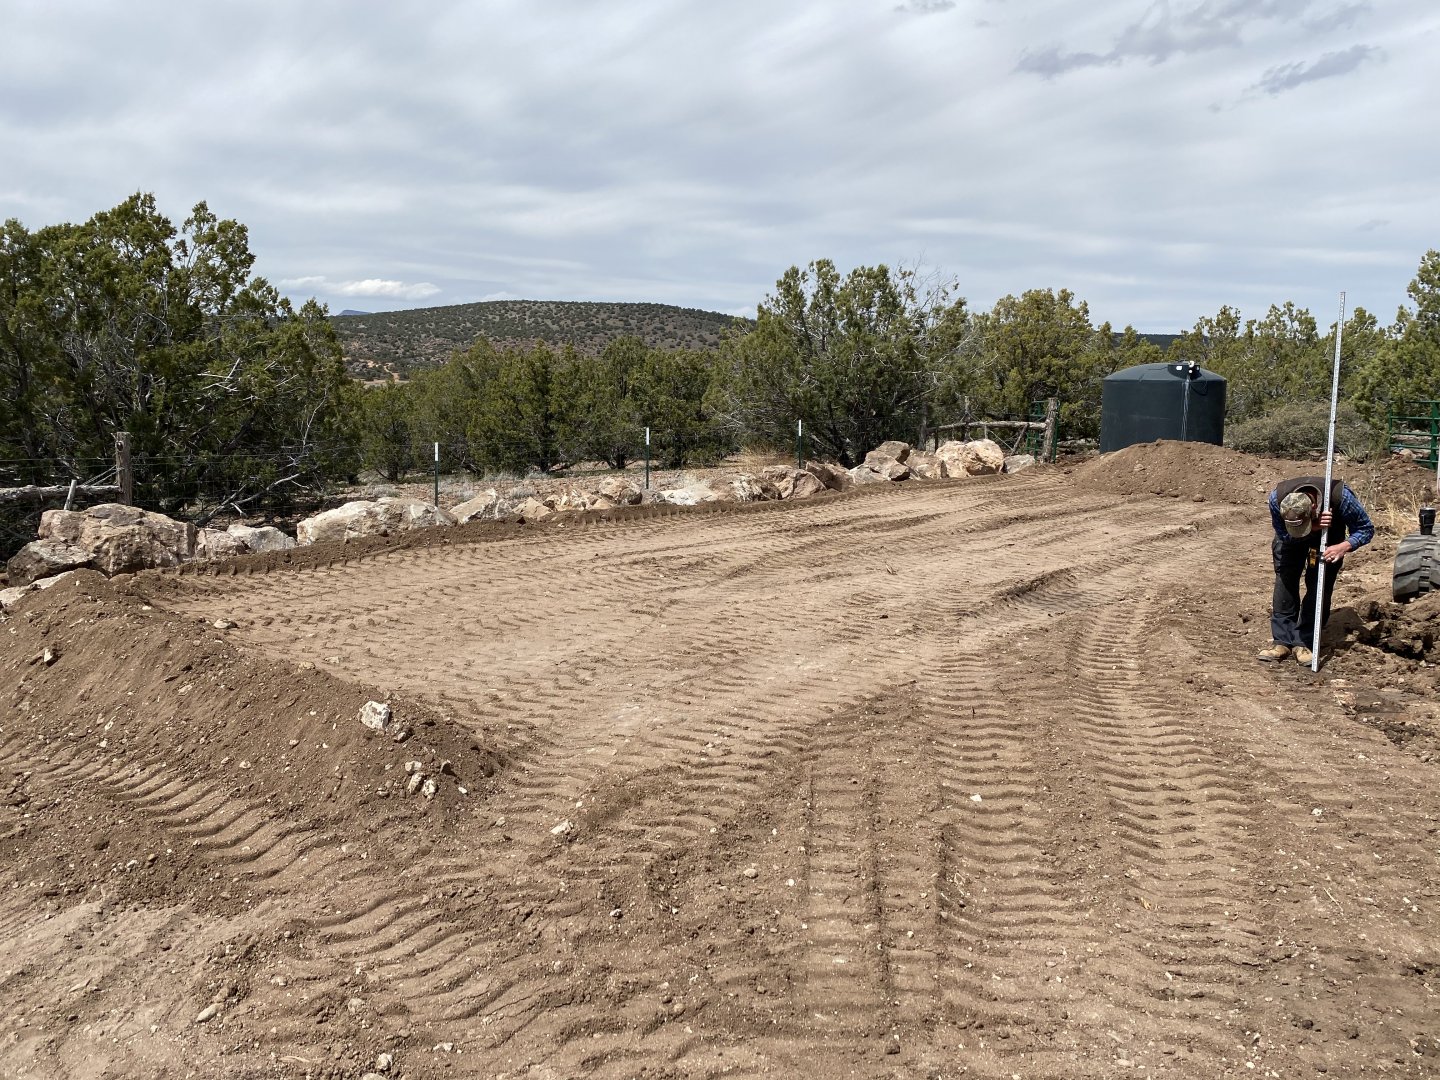
Here is the cut back into the hill to give us more room on the pad but most important was having material to build a huge drainage wall that diverts rain water completely around the new pad.
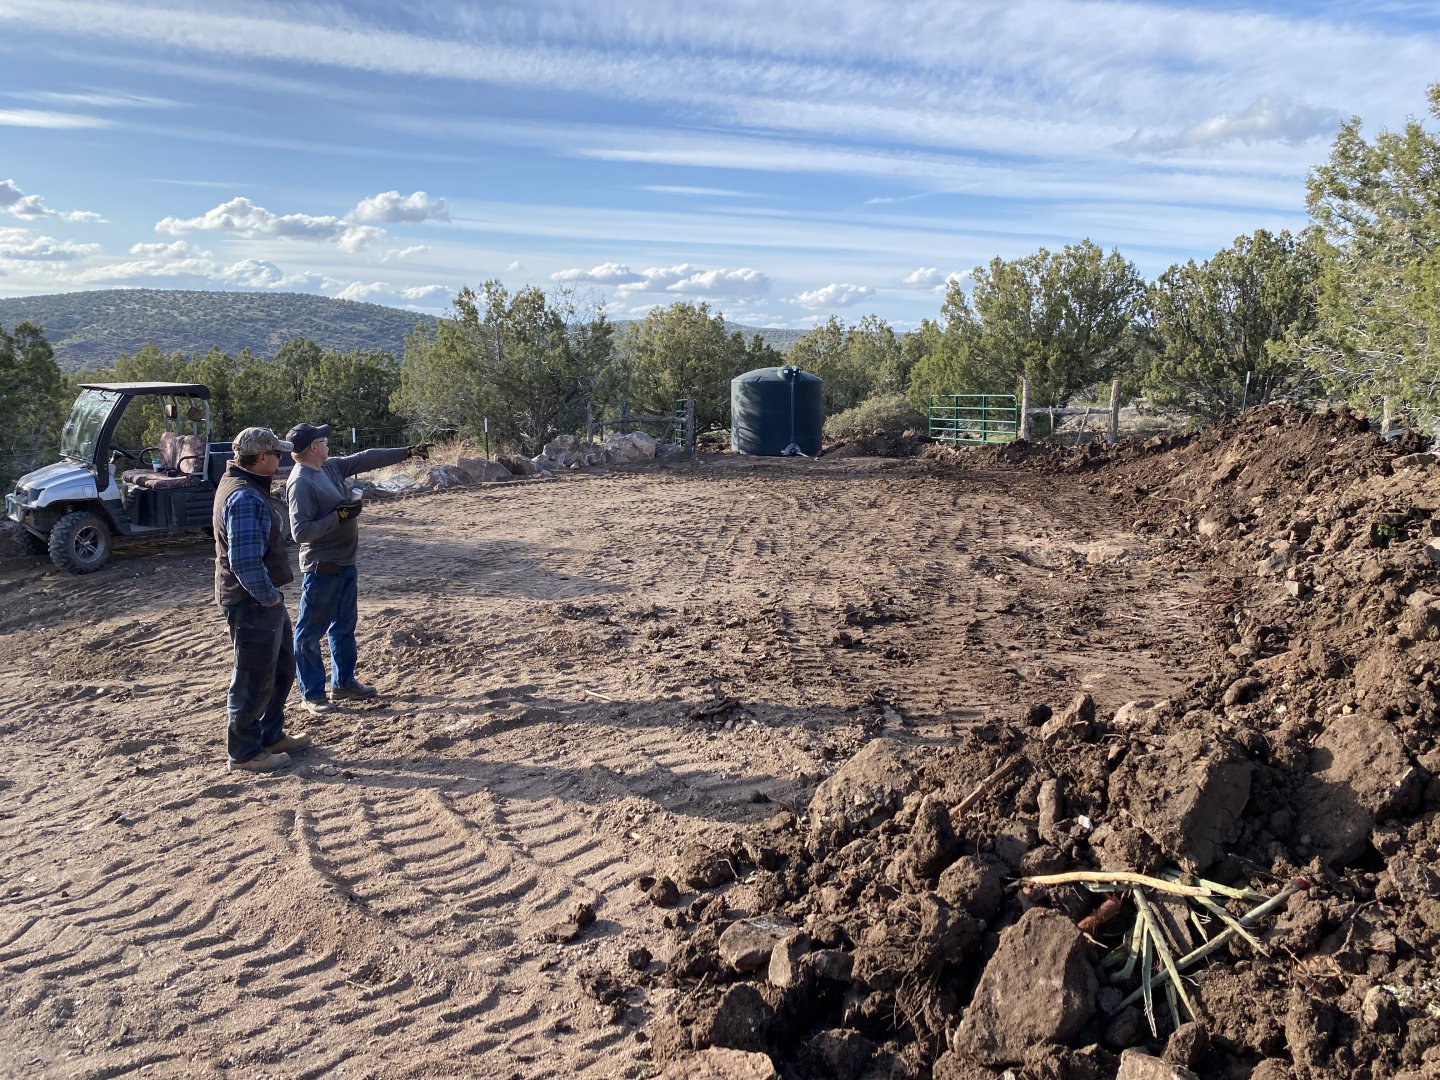
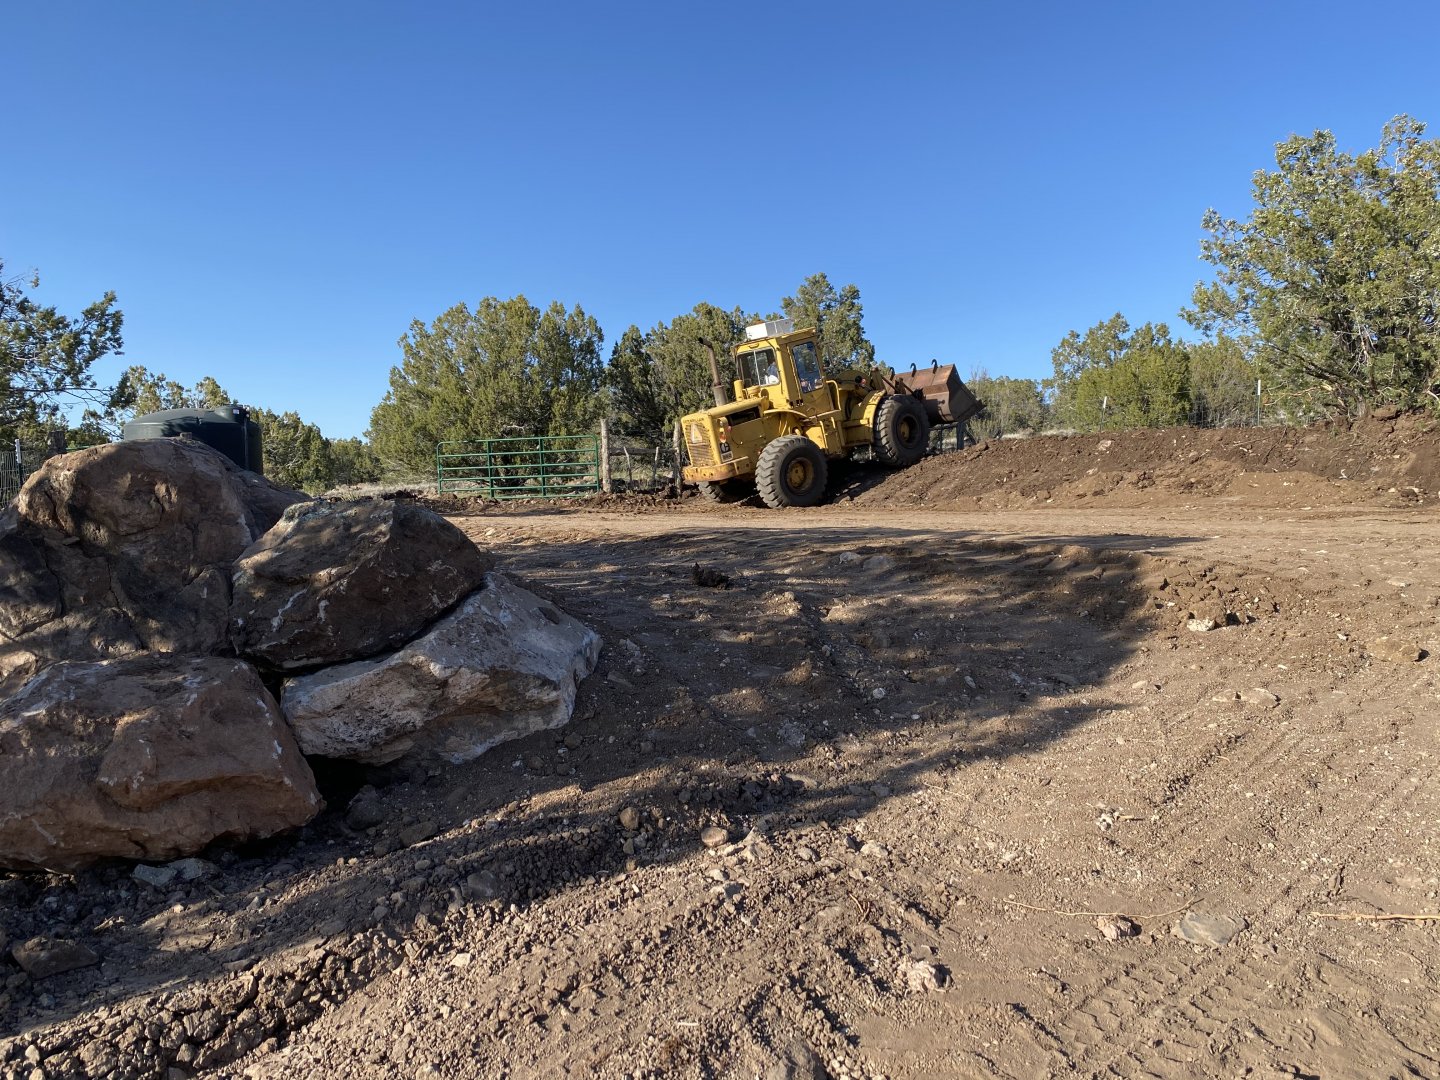
Shape, then wheel roll the diversion.
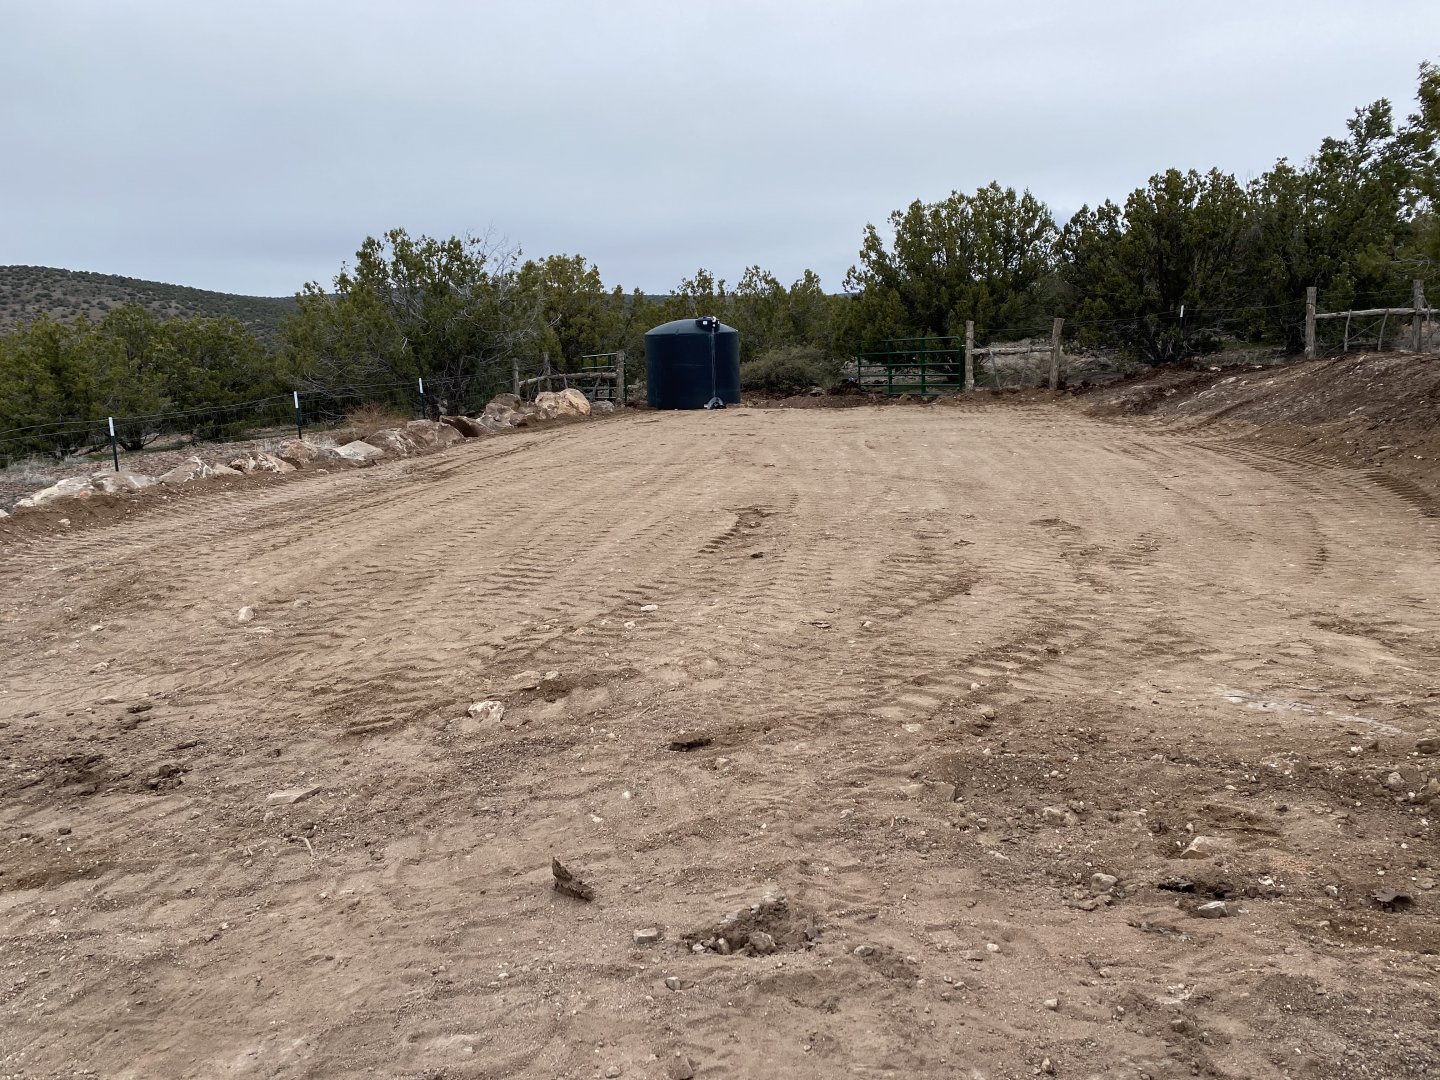
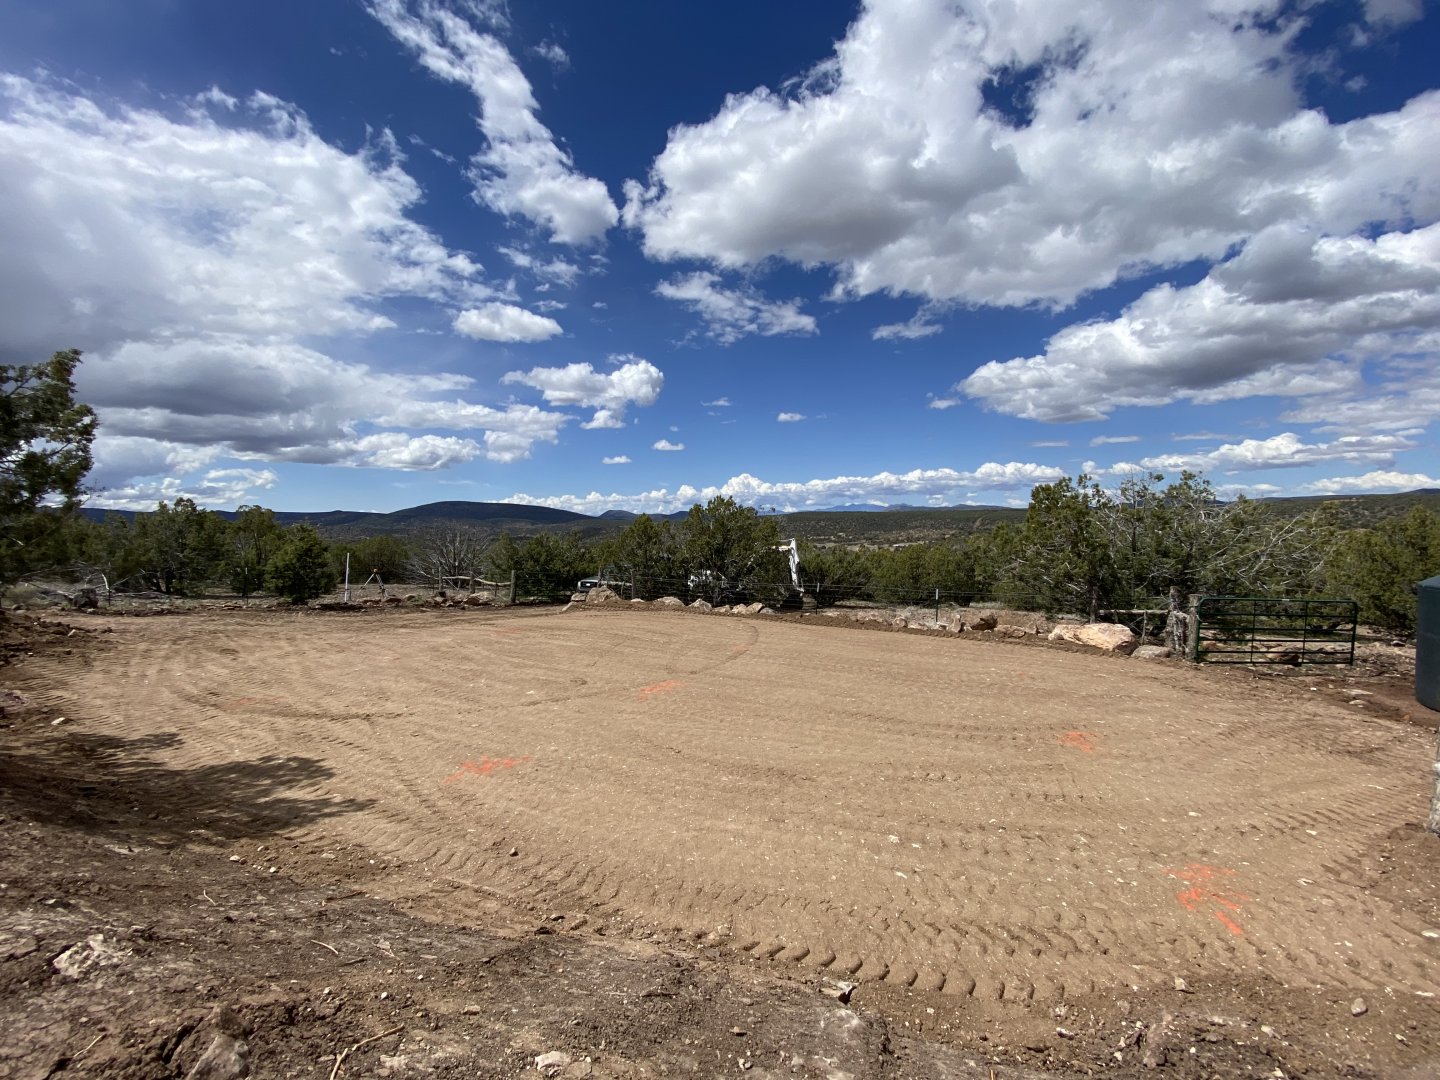
The finished pad.
We didn’t waste any time, getting it laid out and paint on the ground.
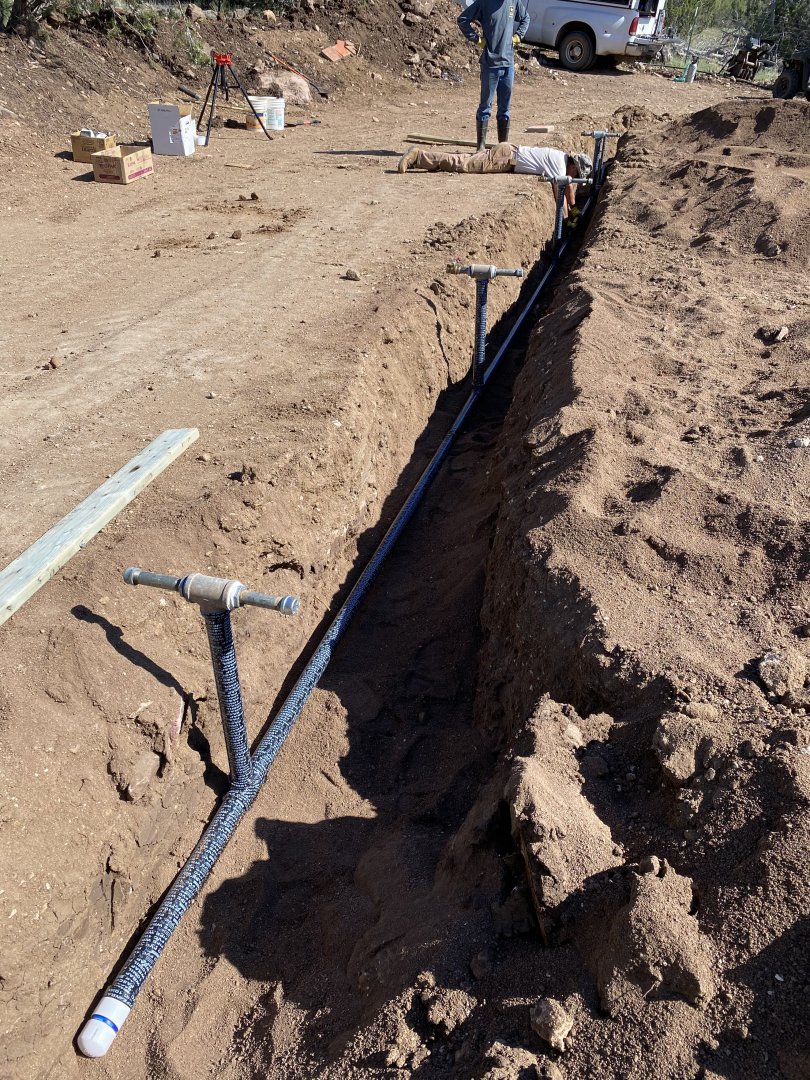
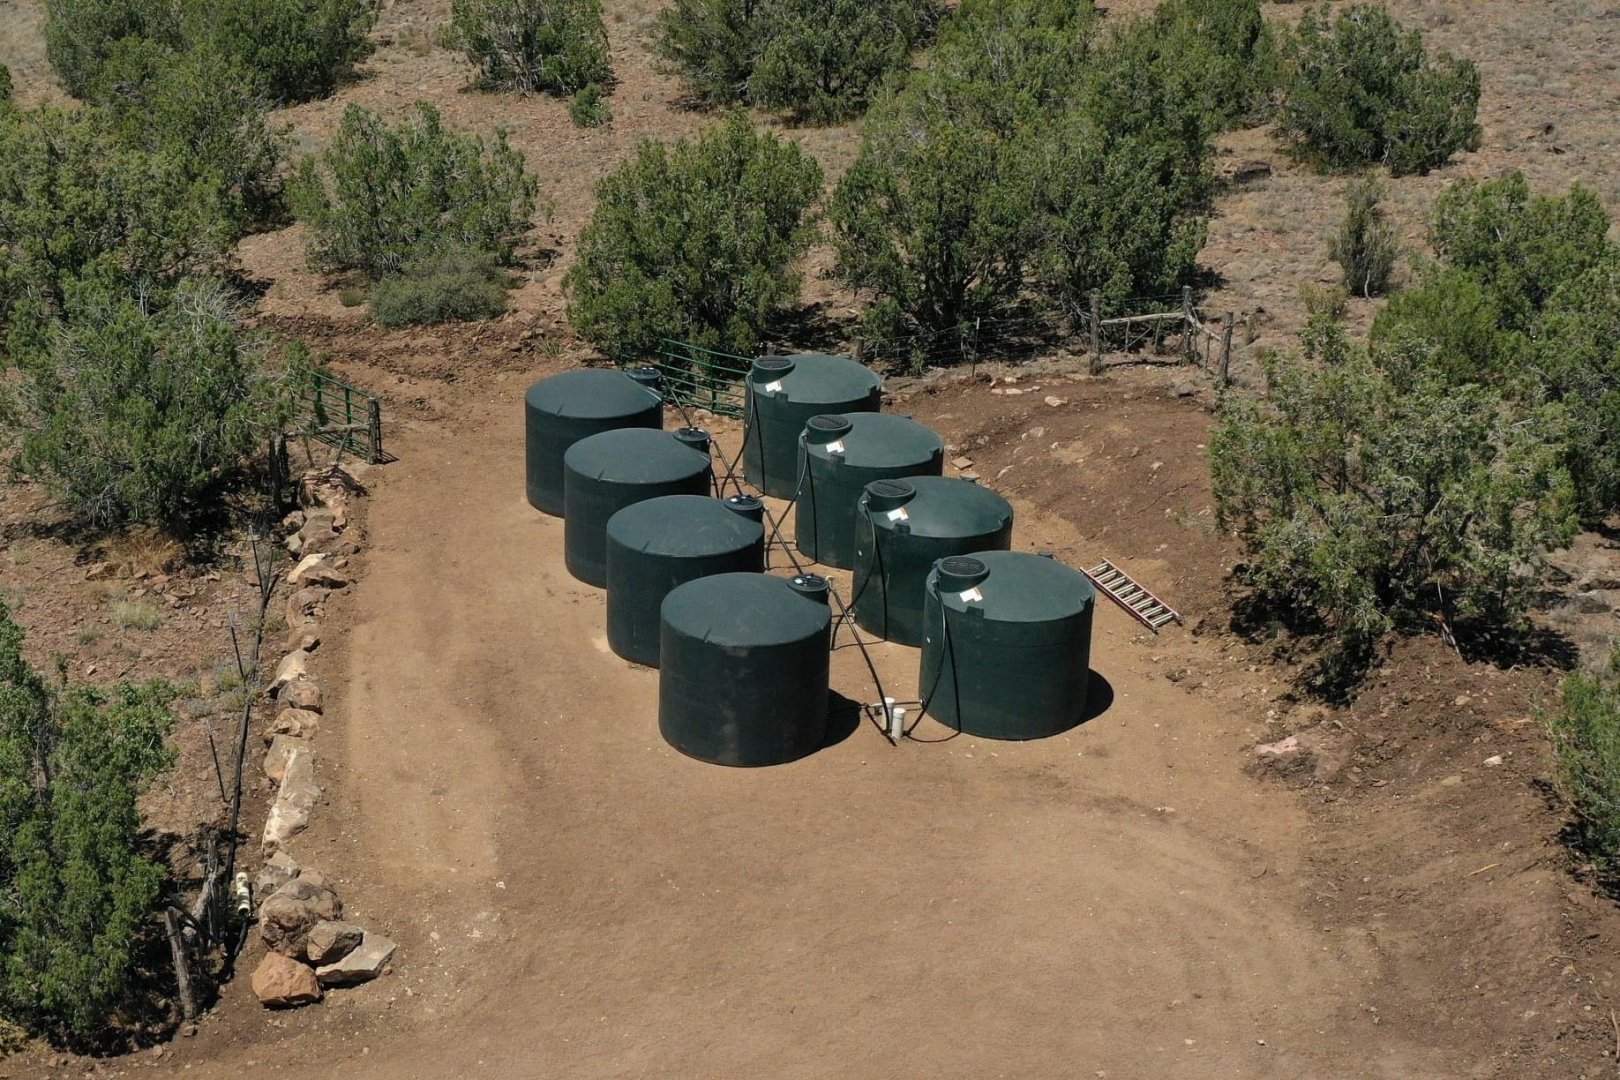
We set up the tables and pipe stands to start building the new manifold that 8 tanks will tie into.
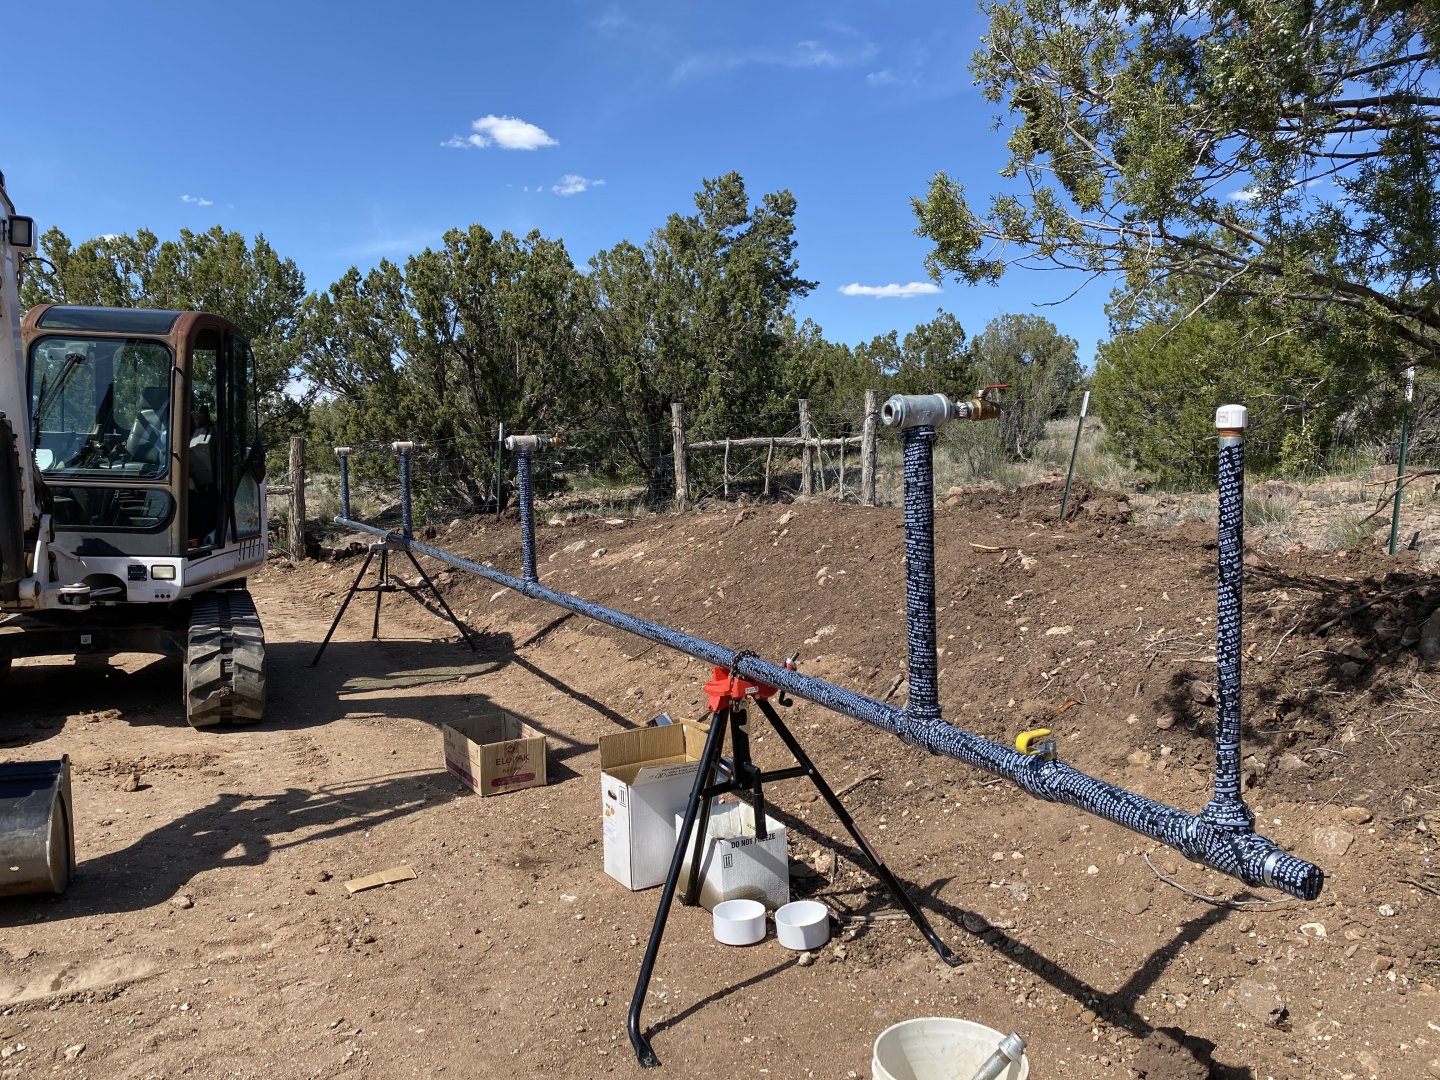
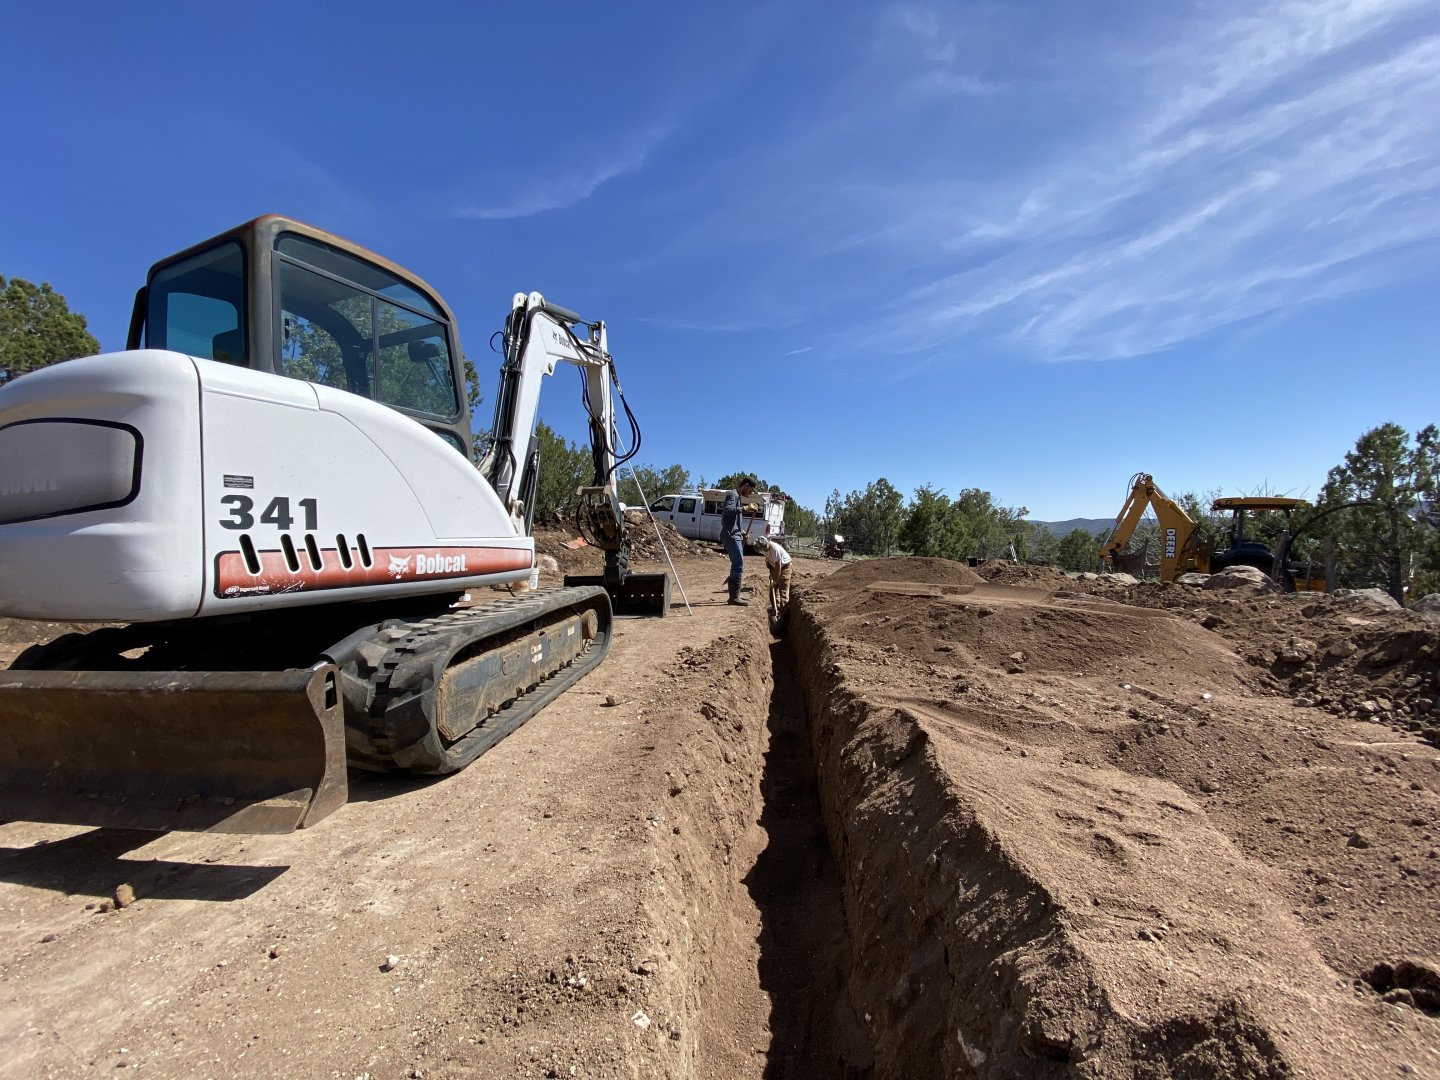
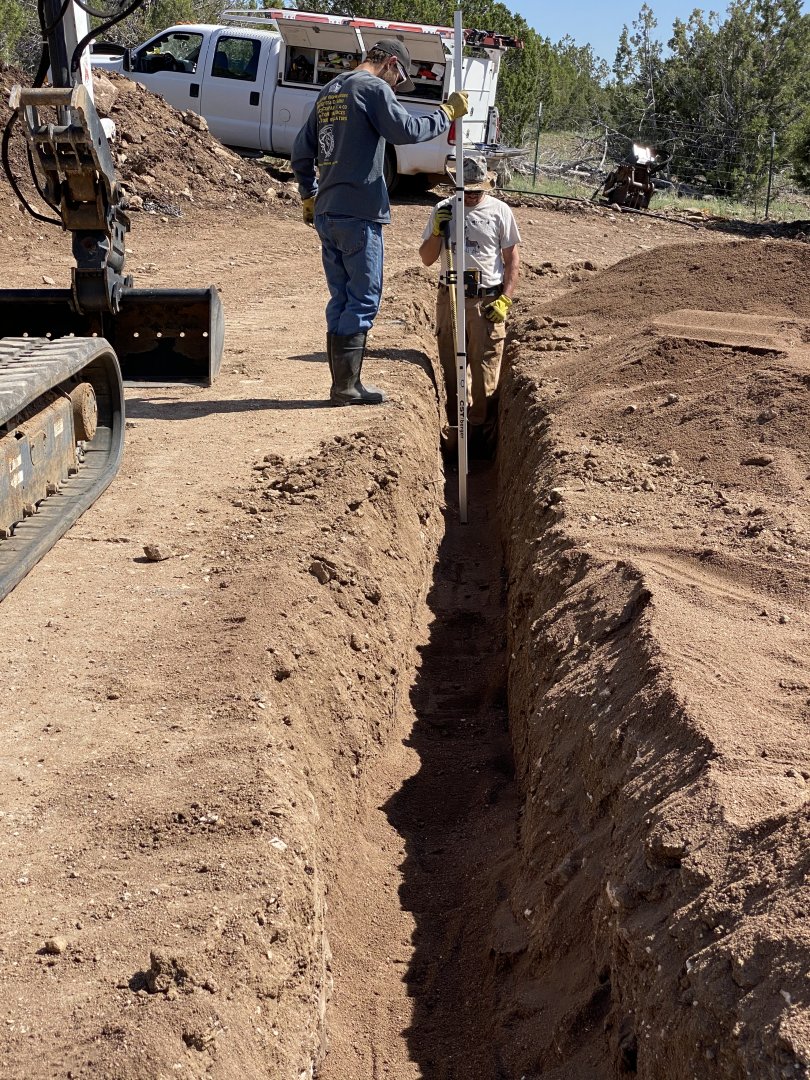
While the plumbing was being built, we started fine tuning the new trench. We lasered the floor with a bed of sand so this heavy manifold would drop right in at the correct height.
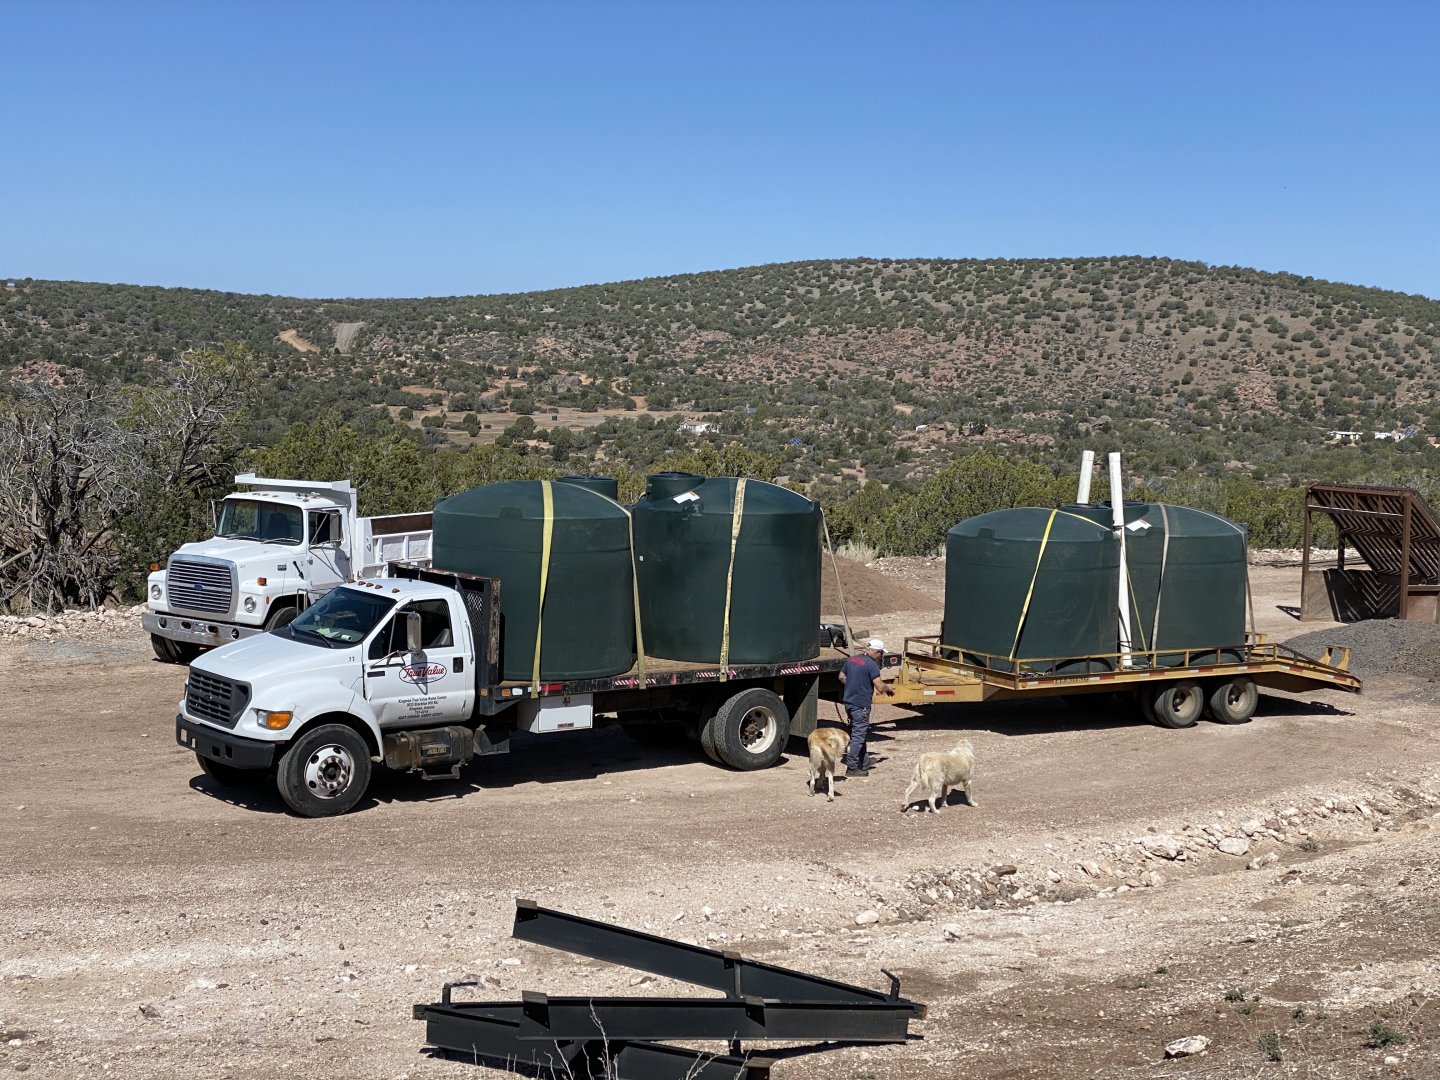
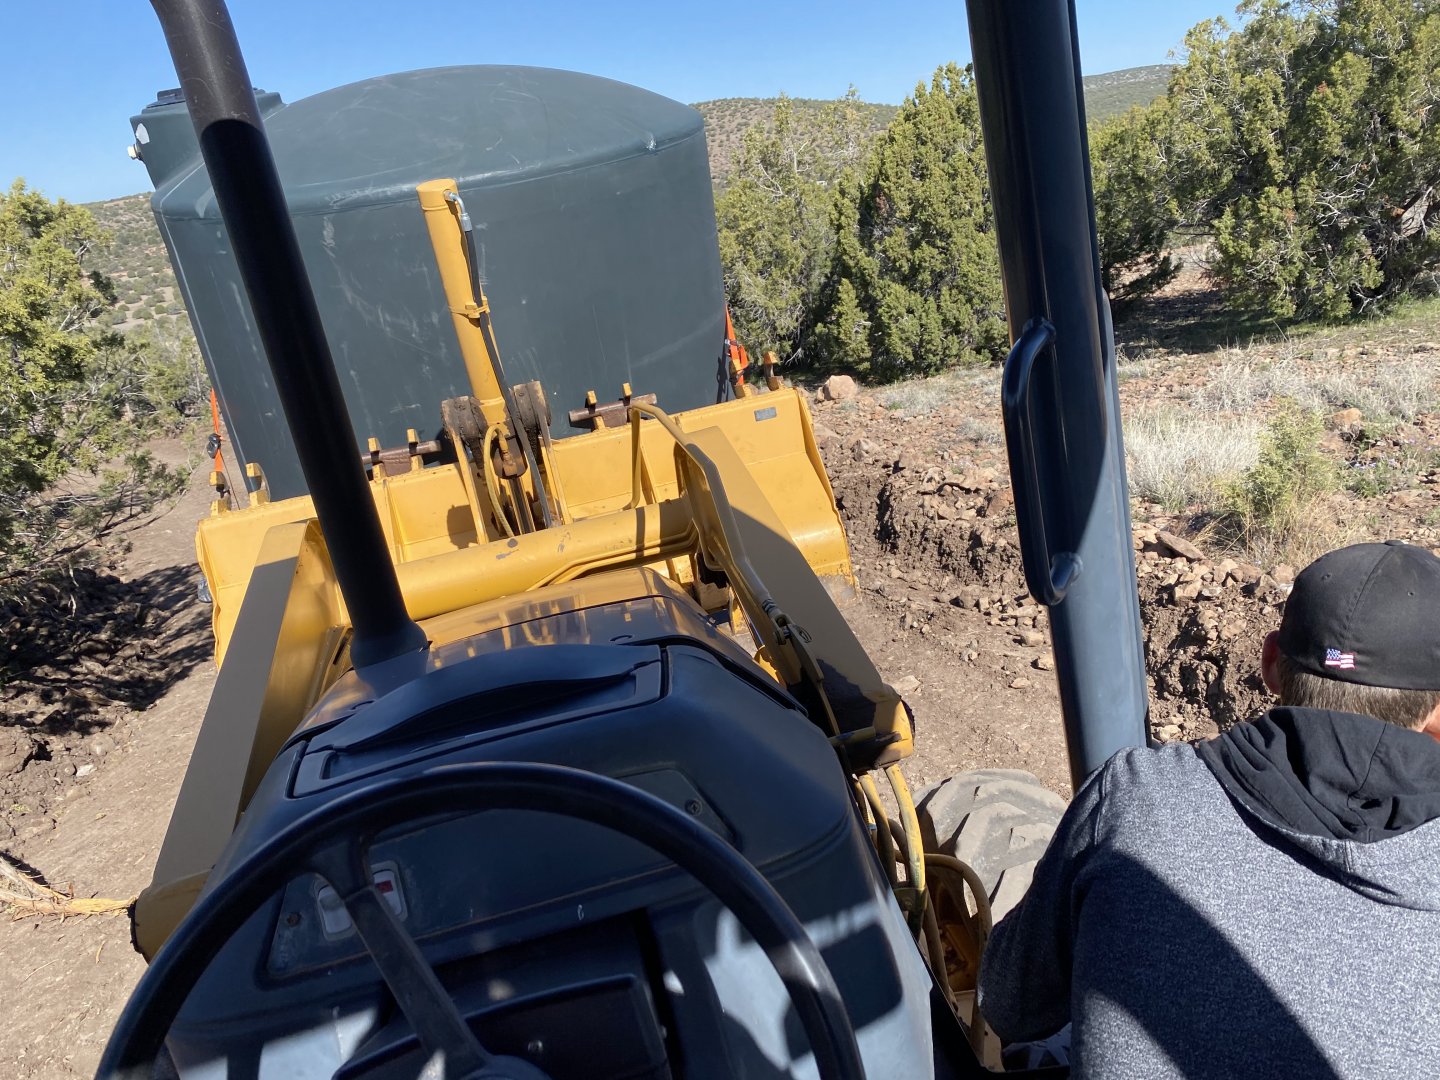
The new tanks arrived and we were ready to start bringing all 8 of them up.
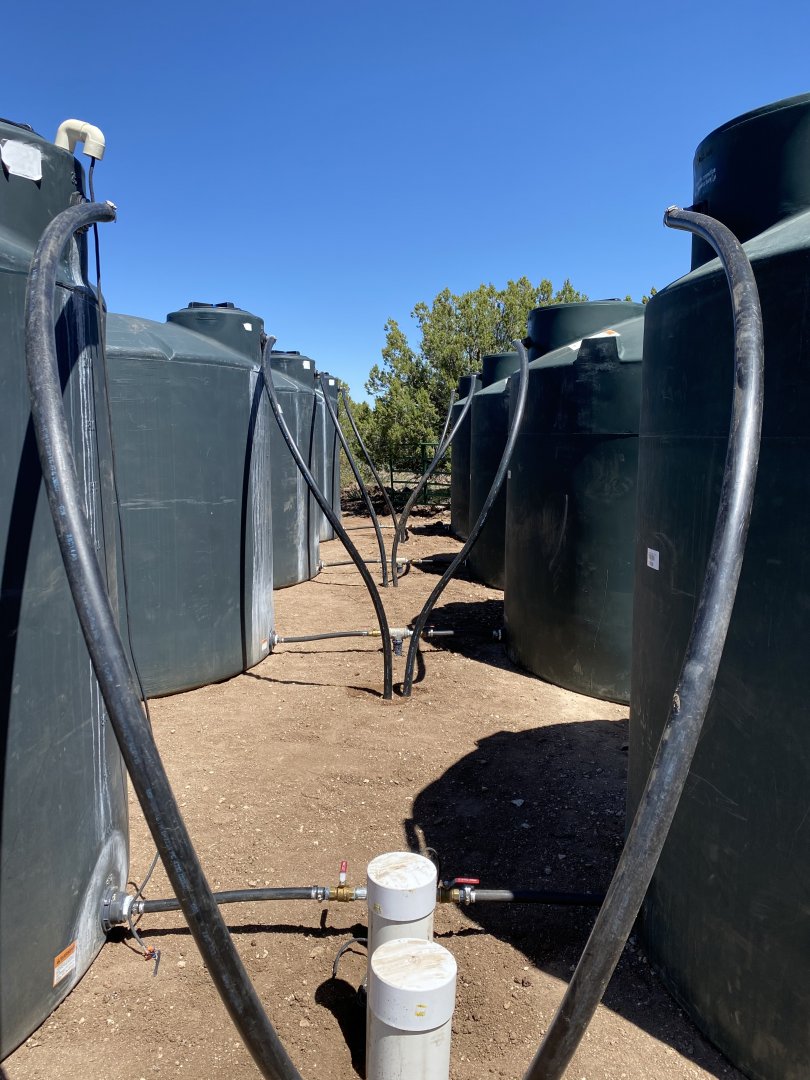
Learning from our mistakes, we attached the tanks with flexible poly pipe this time. The rigid galvanized put a bunch of stress on the tanks with the original install. Basic math told us that 1″ line was just fine to connect all 8 to the 2″ main line. The savings in fittings from 2″ down to 1″ is substantial and since we were sooooo over budget at this point, anything we could do without cutting corners was welcome.
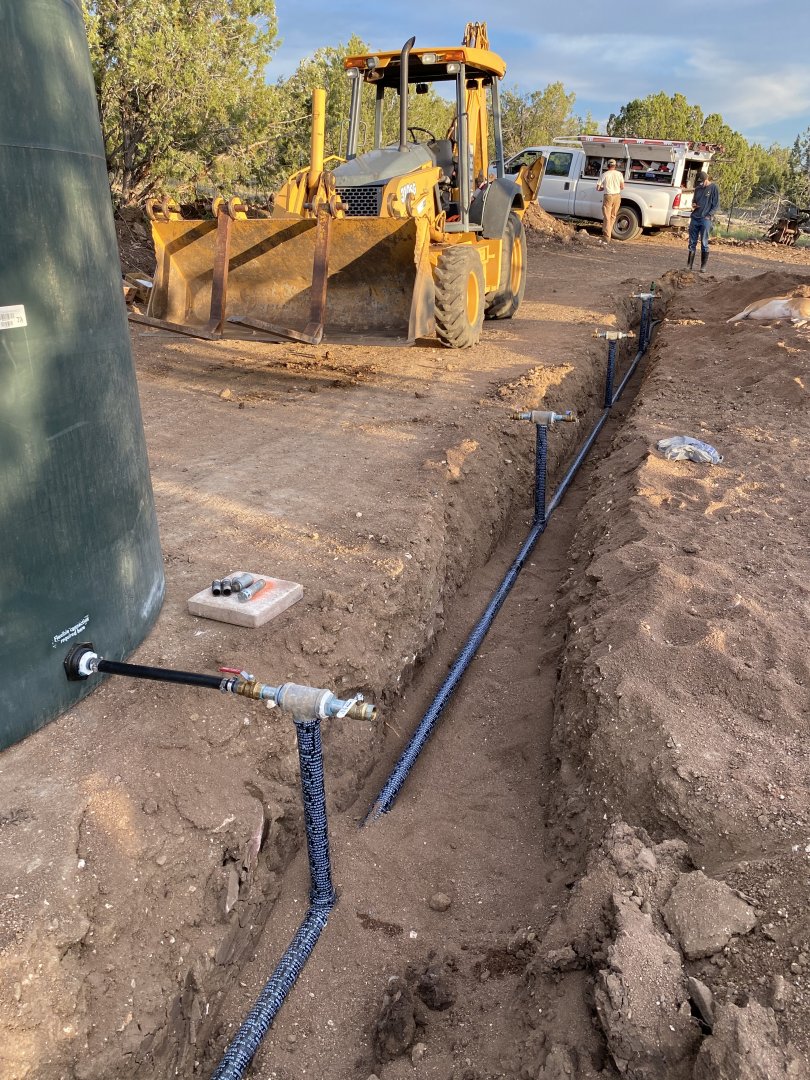
Another upgrade to the original design was a dedicated overflow for each tank. While mostly automated, we have had a float failure which didn’t tell the pump when to turn off. The tanks spilled over and added to our erosion problem. We used 2″ poly in two different manifolds that looked like a bowl of spaghetti. The stuff is a pain to work with so luckily we had some warm days on the final install.
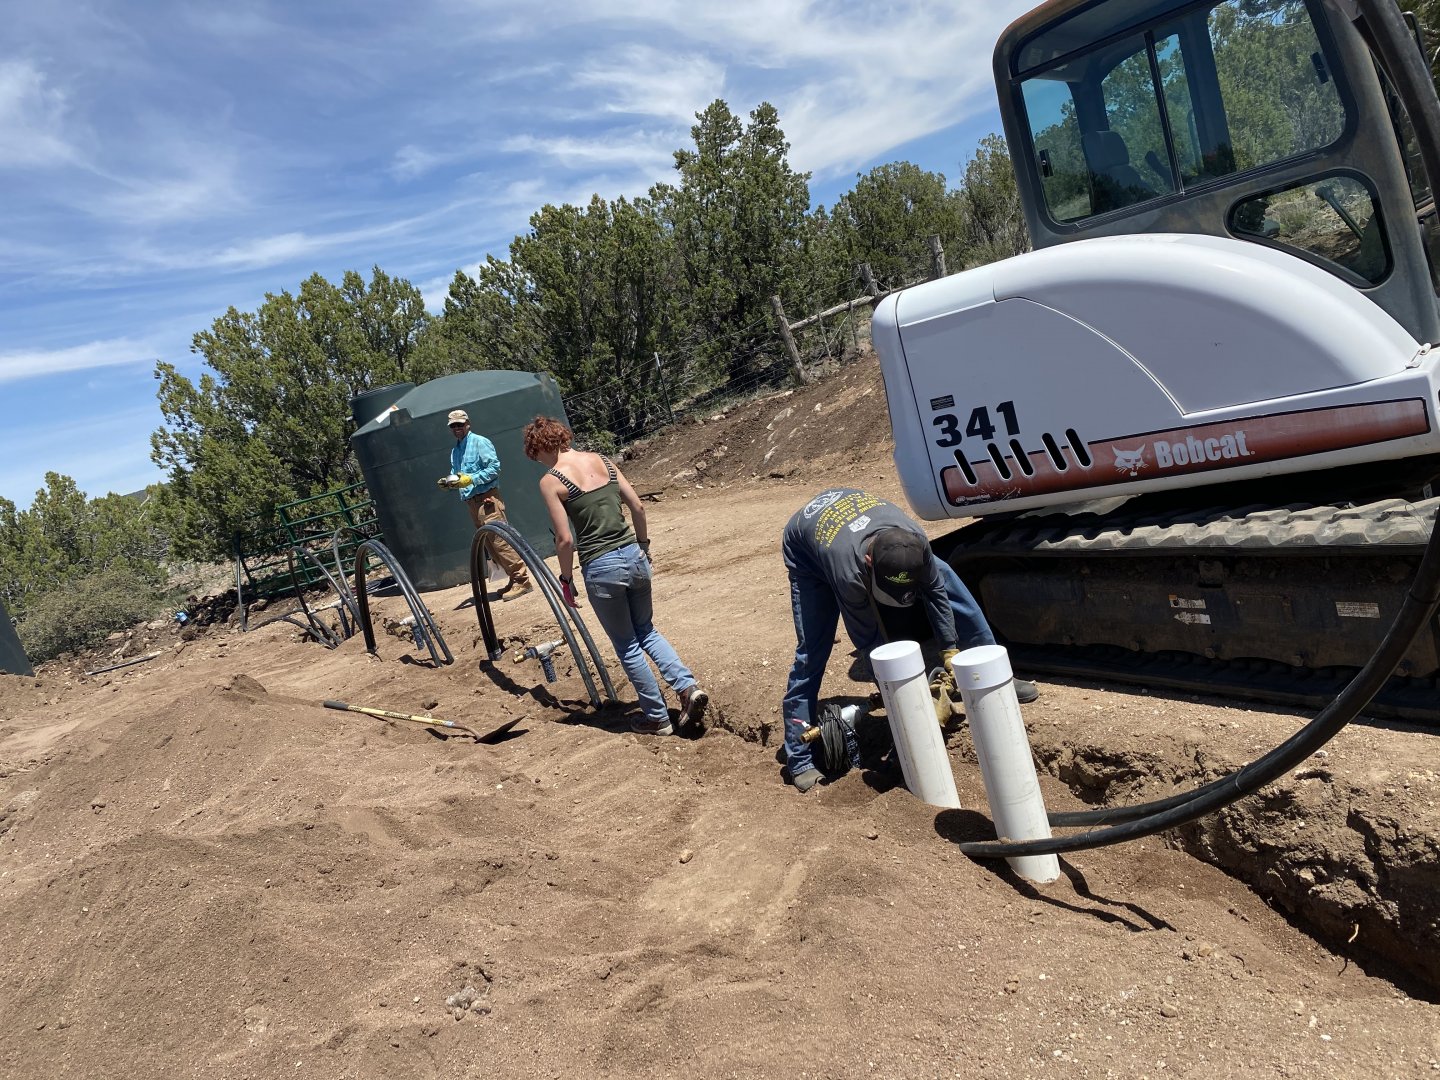
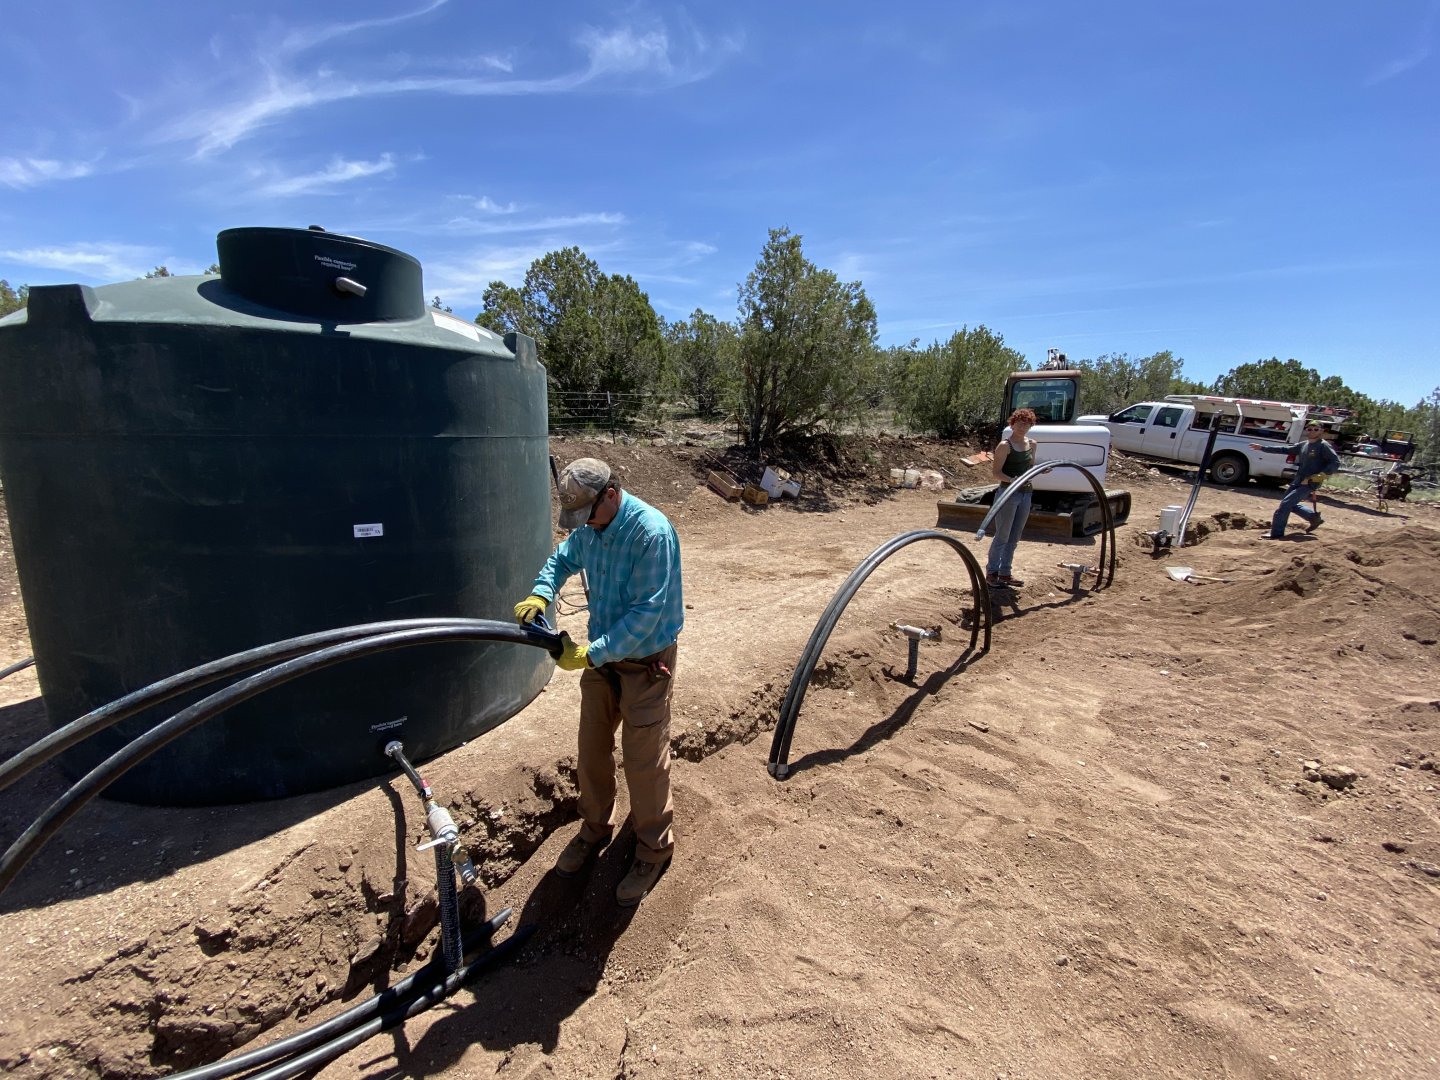
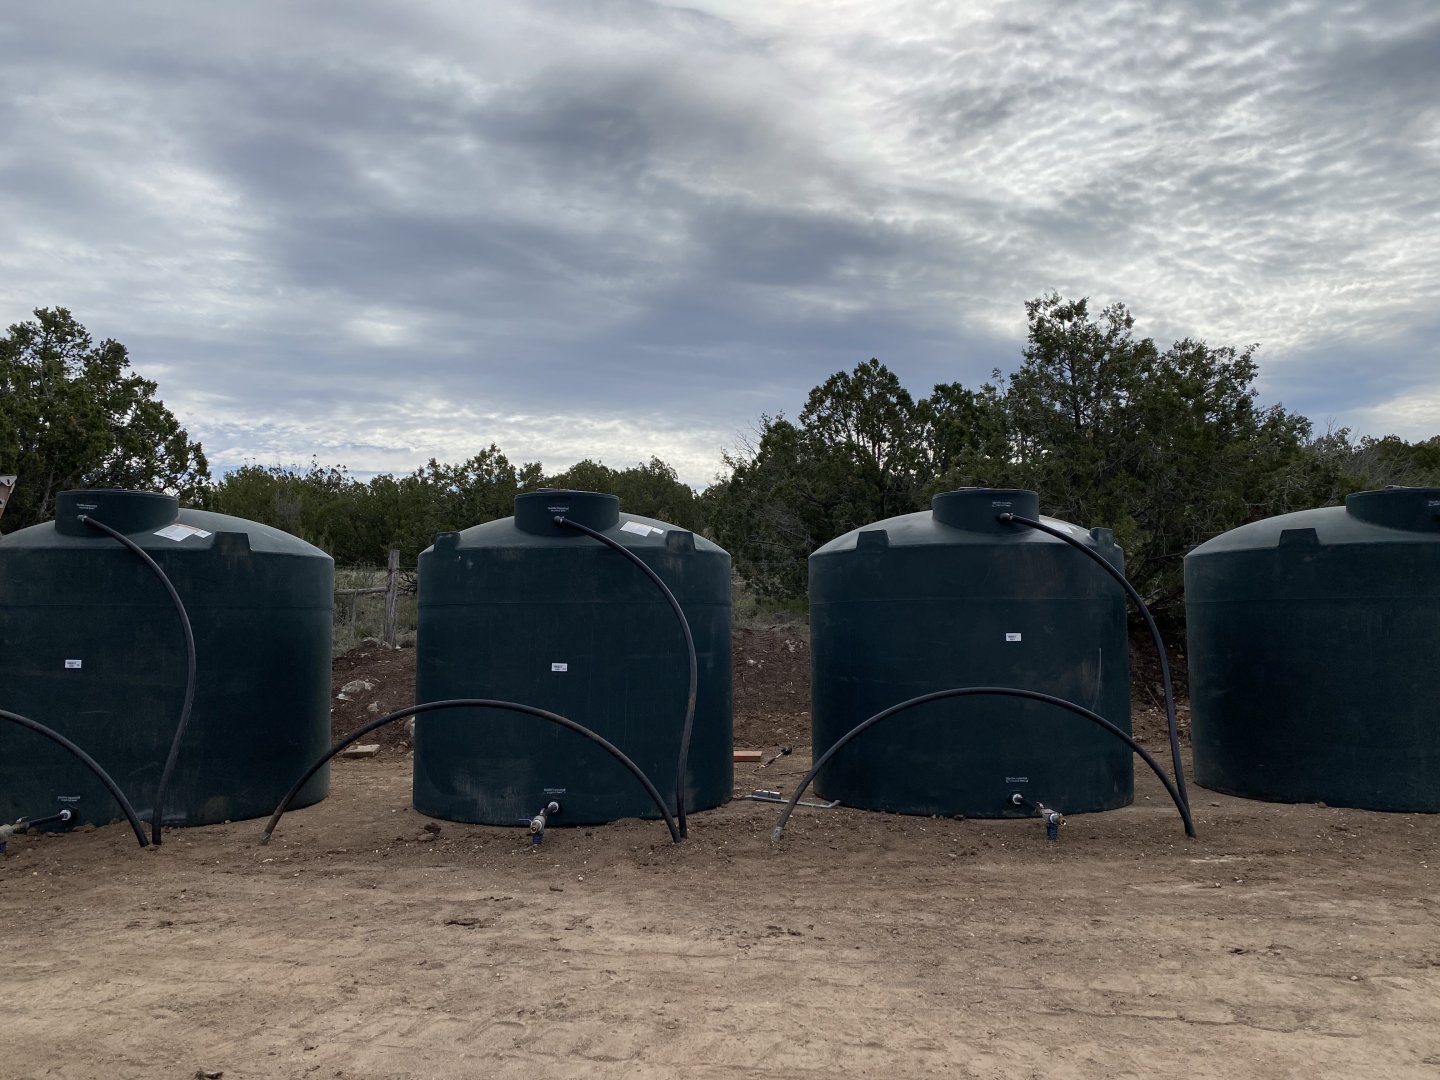
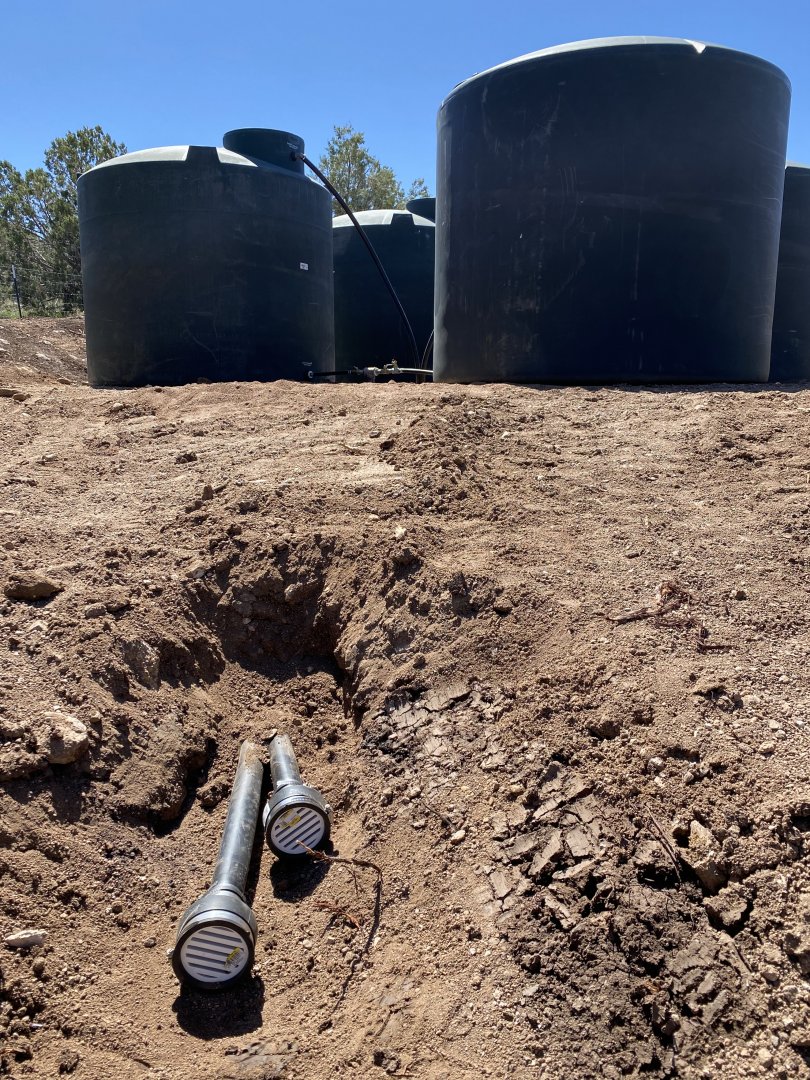
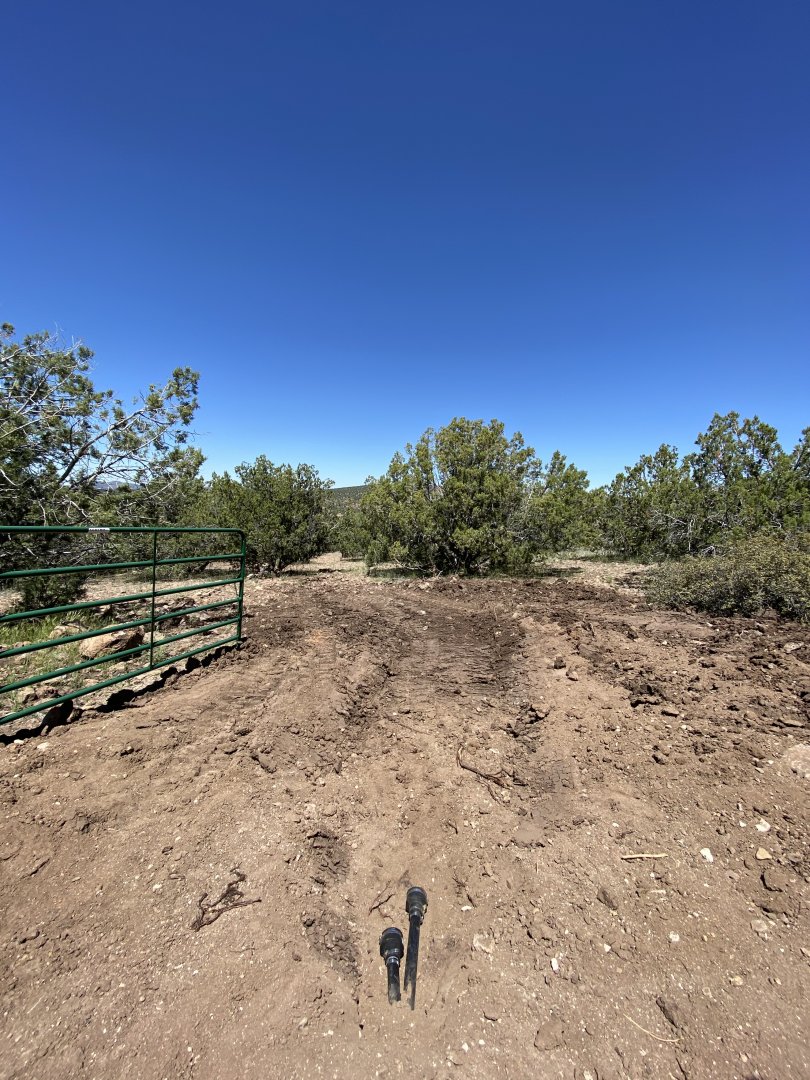
We cut in a drainage ditch and ran the overflow to it then capped off the ends with vents that flow water but won’t allow mice and other critters to get into the lines and somehow find their way into the tanks or build nests in the line to block them up.
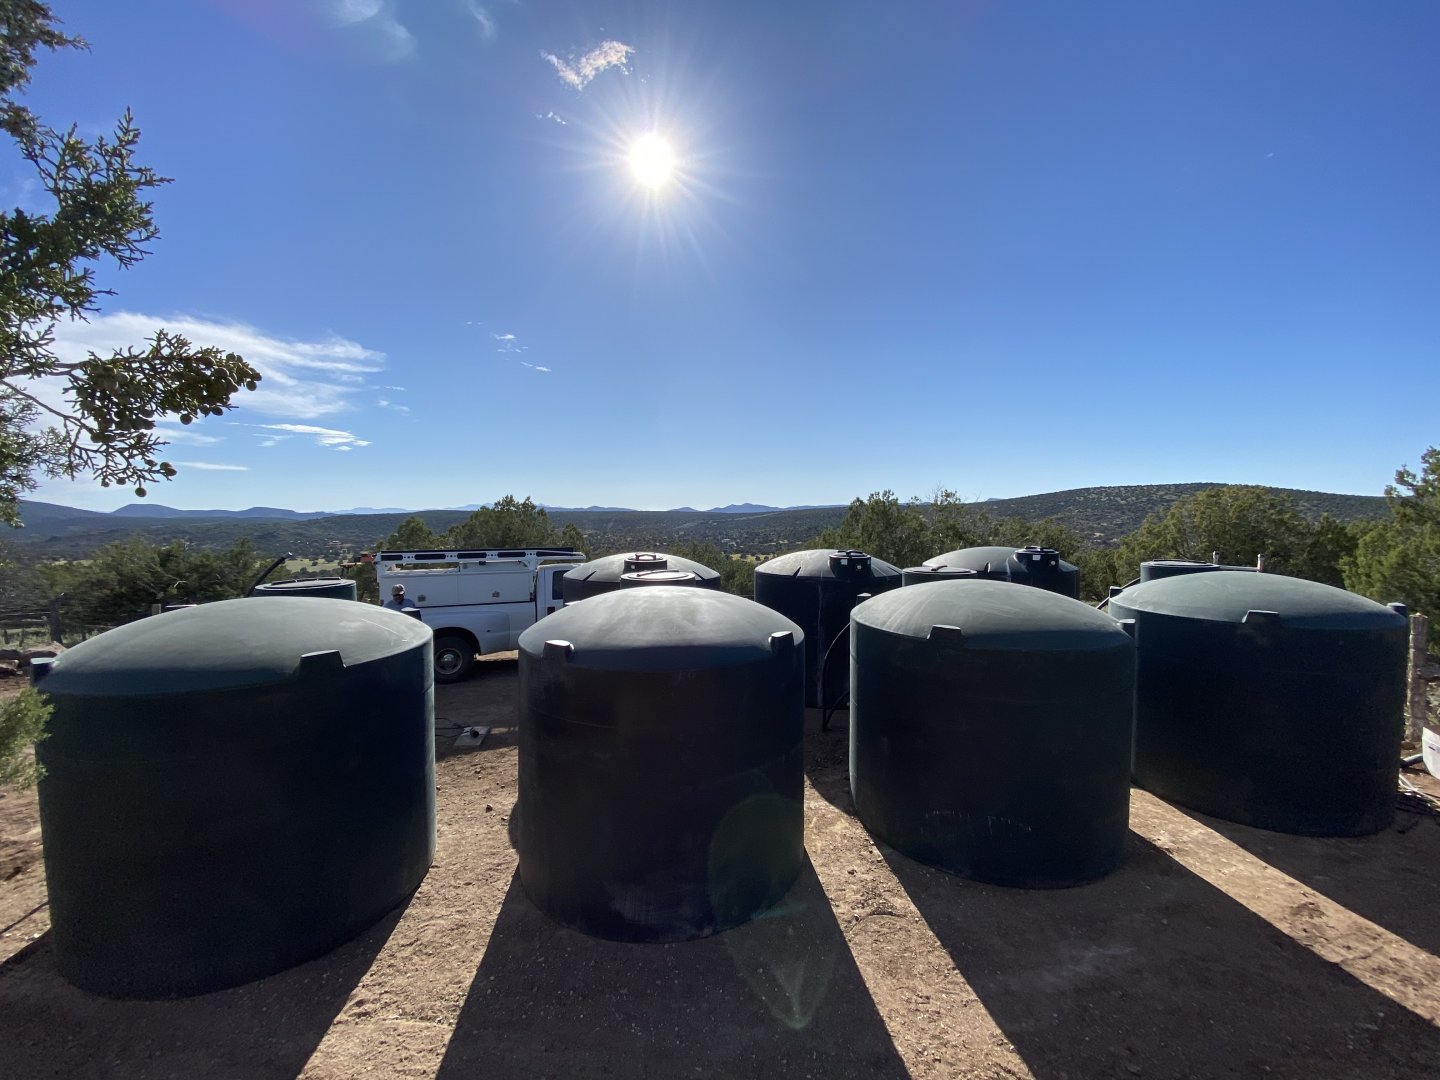
The finished pad and water tank project.
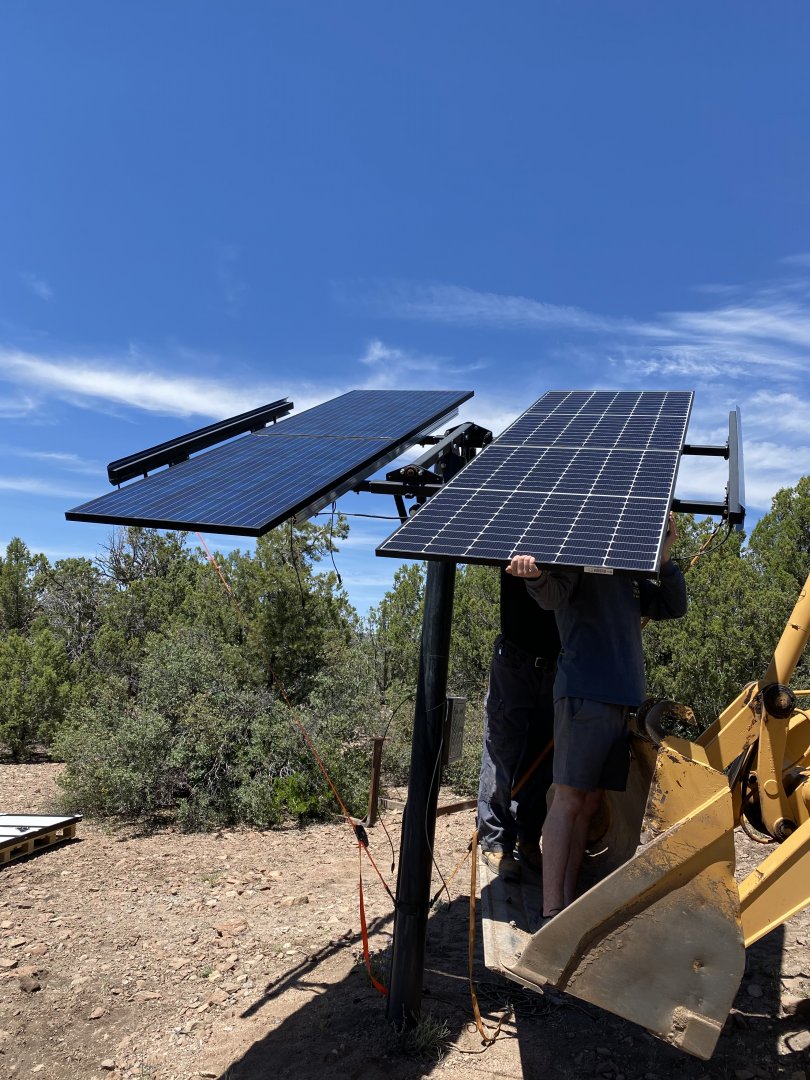
No real exciting pics of the well pump replacement but here we are swapping out the 250 watt panels for 365’s. In 6 years time, the technology has come pretty far. The dimensions were almost the same but the power output difference is huge. Old pump needed 620 watts at full steam, new one uses 1310 watts so we still have power to spare and can pump at max capacity on a slightly overcast day.
We added a high pressure blow off valve and a gauge to keep track of our static water level while we had everything apart as well.
