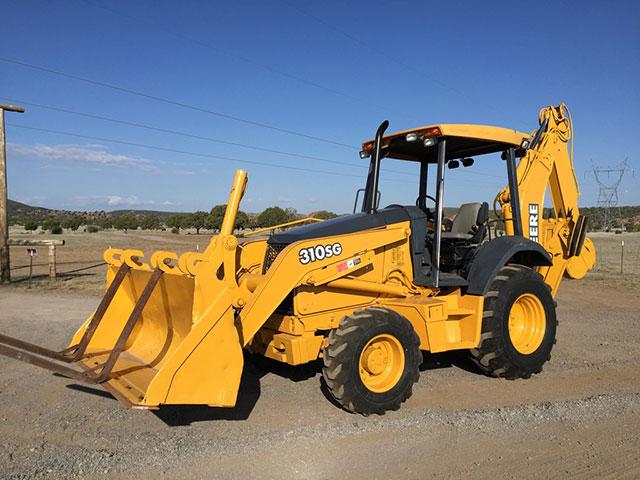
As we planned projects for year two, we knew it was time to buy our first piece of equipment if we really wanted to start making progress. The backhoes were far and away the most versatile machines we had used.
Thank you for visiting, don't forget to subscribe!
We were spending $1600 per week with transport not including fuel and repairs each time we rented and one crapper rental broke 4 times in 7 days with an 80-mile round trip to town for parts each time. A large investment was starting to make sense on paper.
By now we had become good at saving money. That, along with selling off stuff we could part with finally had us able to start shopping. I was ok with my reality; my budget would only go far enough to buy an older machine. I have a decent set of tools and am fair with a wrench so I set out looking for something in nice shape that needed basic wear items taken care of, nothing major.
I drove 300 miles in every direction from Havasu and looked at a ton of stuff and finally made a deal on this. It was ten years old and fleet maintained by a large underground company in Phoenix. They had put a fresh paint job on it as well as new tires and a few other things that would have been tough on me and my wallet. It was ready for a full service which was perfect as I had wanted to learn the ins and outs of working on it myself.
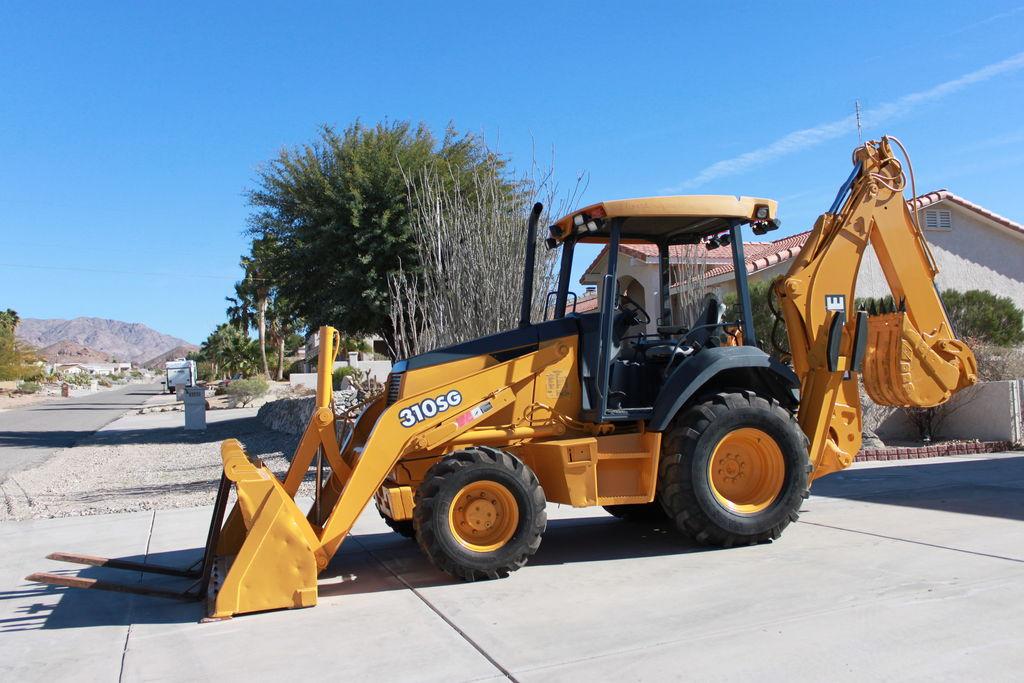
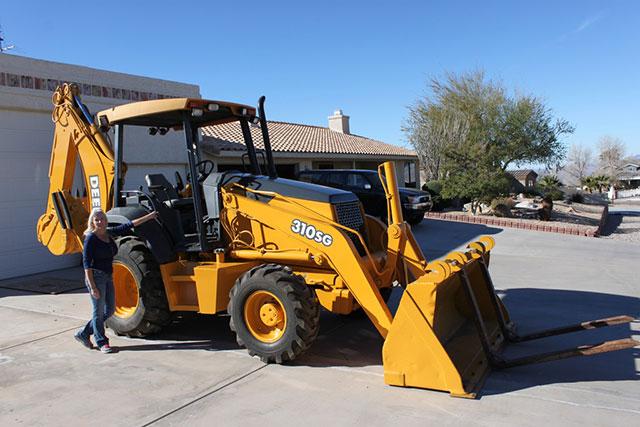
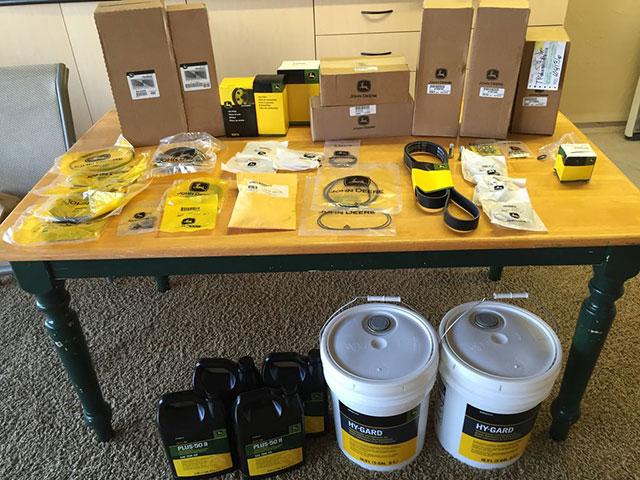
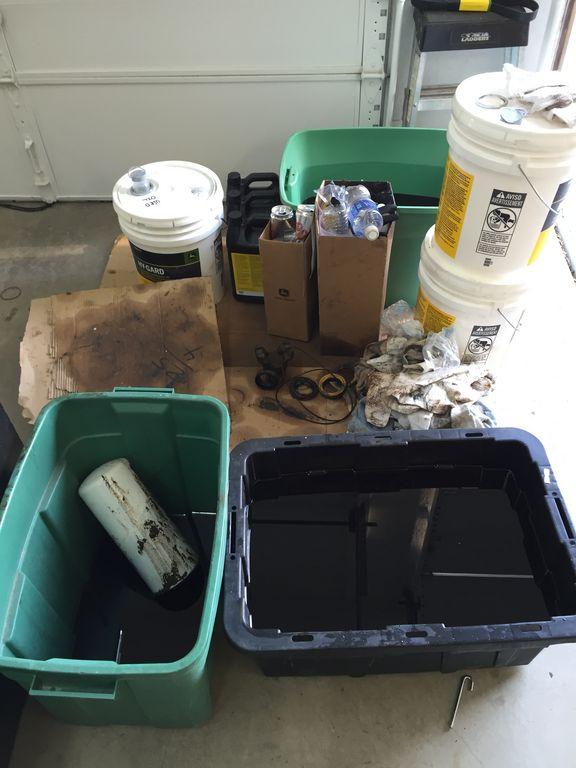
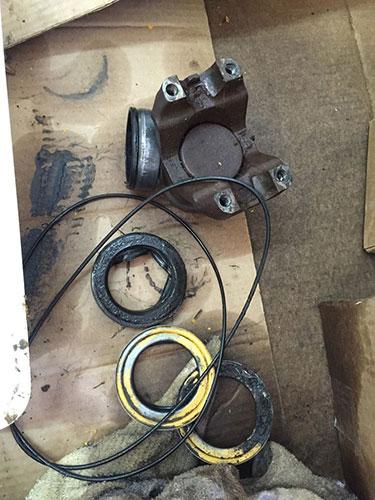
First trip to the Deere dealer was an eye opener. They are proud of the parts but at least everything was top quality and an absolute exact fit.
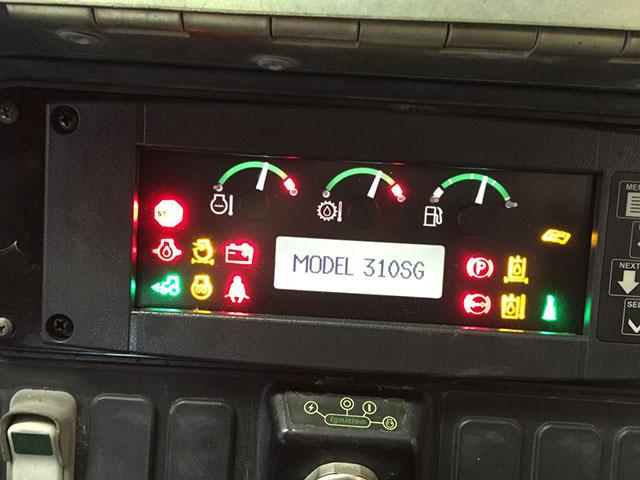
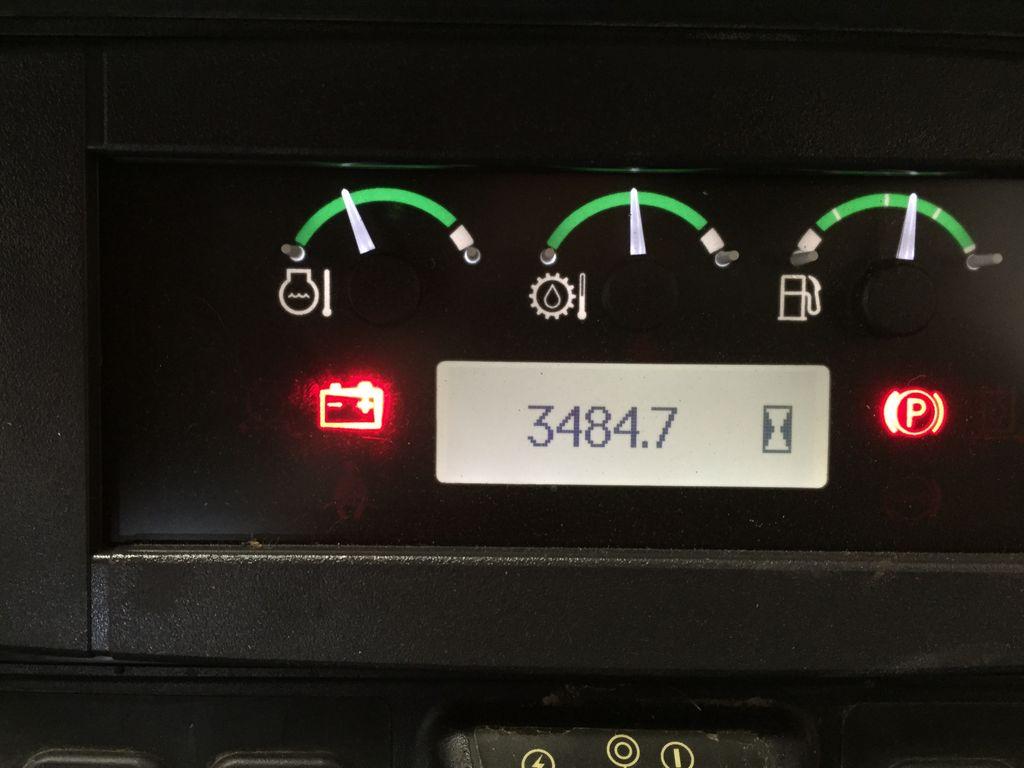
New, updated control panel to show correct hours on machine.
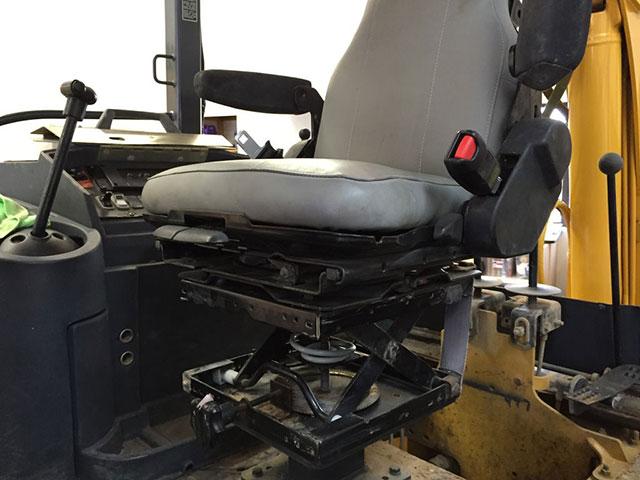
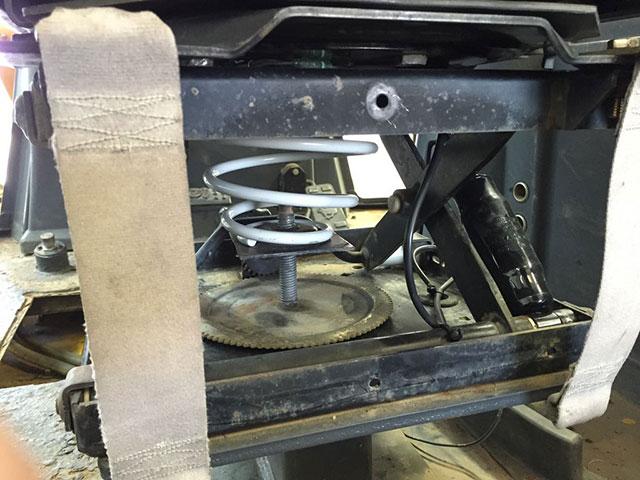
I rebuilt the seat assembly as it has 4.2 million moving parts. It was a huge difference with a new spring, shock, switches and seat belt assembly.
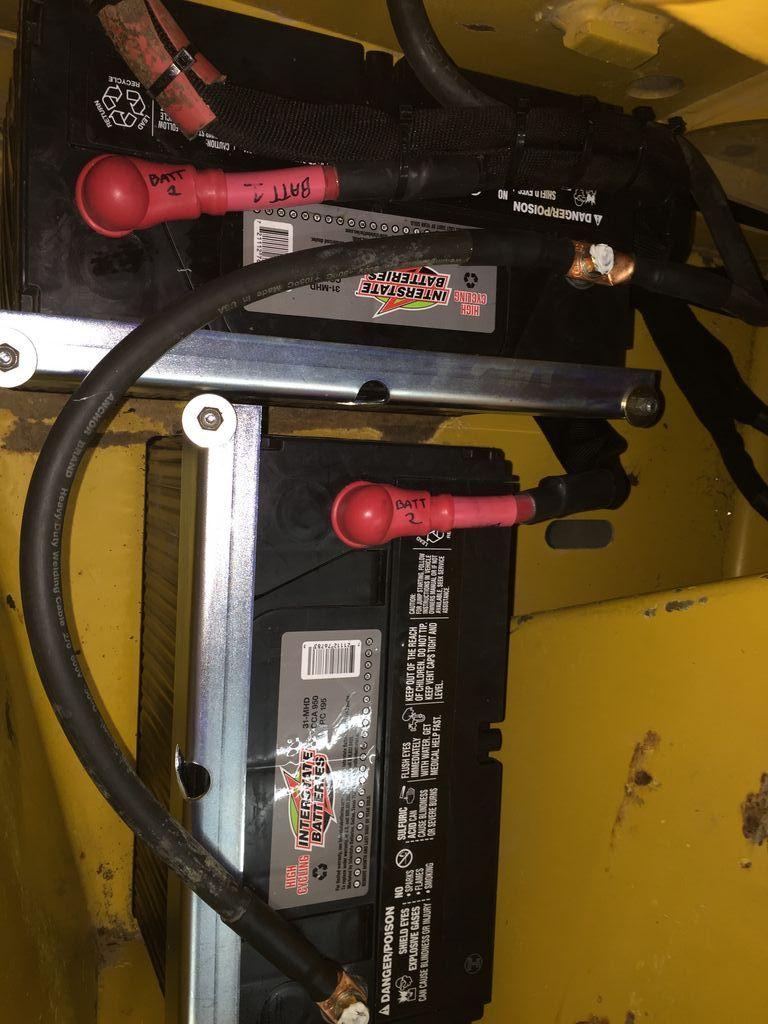
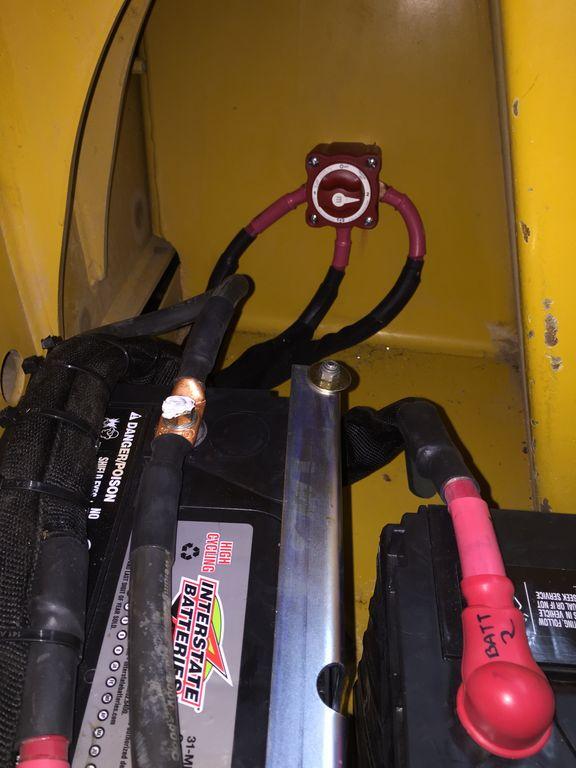
I upgraded to a dual battery setup using John Deere parts as it was a factory option on this model and all new cables with master switch.
I replaced all the grease fittings and cleaned out a few plugged passages before pins got wiped out.
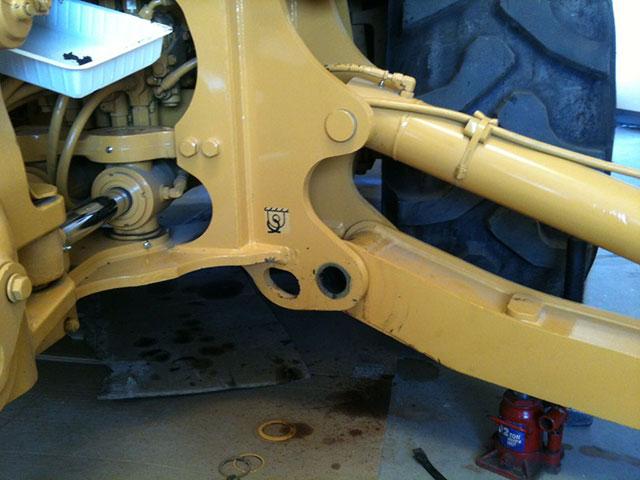
This all took a couple months after work but sure was nice doing it in a climate controlled garage with concrete floors (as opposed to ranch dirt), toolbox close by and a big air compressor. I have a much better understanding of the machine and could likely handle a larger repair as needed at the ranch.
It was like Christmas morning when the transporter delivered from my house to our exit.
